How to Install EMC Navisphere CLI
As per EMC recommendation, the Navisphere CLI version should be matched with the Block Software version of the storage system. For instance, if the Block side version is 05.33.x, use Navisphere CLI 7.33.x or higher.
Download and Install EMC Navisphere CLI
Login into your DELL\EMC Support account. Search for Navisphere CLI and select the appropriate OS version. The download is typically found under Support Tools. For this tutorial, we are installing CLI for Windows.
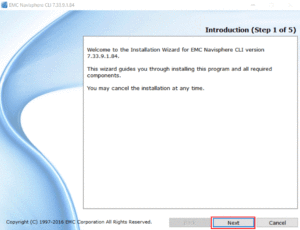
Run the Navisphere executable to start the Installation Wizard. Select Next to begin.
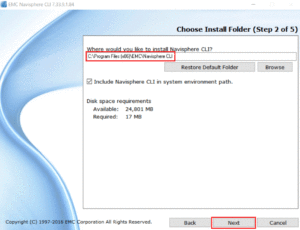
Specify the location for the Navisphere CLI installation. The default location is C:\Program Files (x86)\EMC\Navisphere CLI.
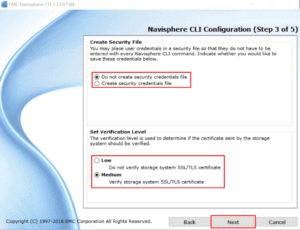
Next, designate if you would like to create a Security File. Creating a Security File will place credentials into a file, so they do not need to be entered with each command. It is also possible to create a security file later with the addusersecurity command. Lastly, indicate the certificate verification level.
- Low – Certificate not verified
- Medium – Certificate verified
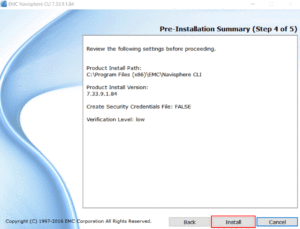
Finally, select Install after reviewing the Navisphere CLI Configuration settings.
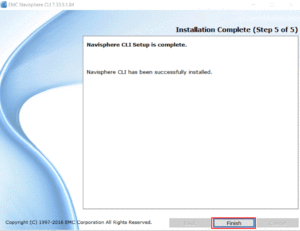
Upon successful installation, the wizard indicates setup is complete.
To start using Navisphere CLI, open a command prompt and navigate to the directory specified for the installation location (C:\Program Files (x86)\EMC\Navisphere CLI).
