Zerto Replication – Create Virtual Protection Group
What is a Virtual Protection Group?
Virtual Protection Groups essentially enable virtual machines to be affinity grouped. Meaning, you can define a group of vms that need to be recovered together. For example, an application that is comprised of a web server, database server, and app server could be grouped together, so they are recovered jointly. VPGs can also be grouped into tiers based on target RPOs. Virtual machines requiring different RPO levels can be grouped so that all critical machines recover together and less critical tiers can be brought up subsequently. It is also entirely possible to include just one virtual machine in a protection group. This provides flexibility in the event a single vm needs recovered as opposed to a group of vms.
Create Zerto Virtual Protection Group
First, log into the ZVM and navigate to the VPGs tab. Select NEW VPG.
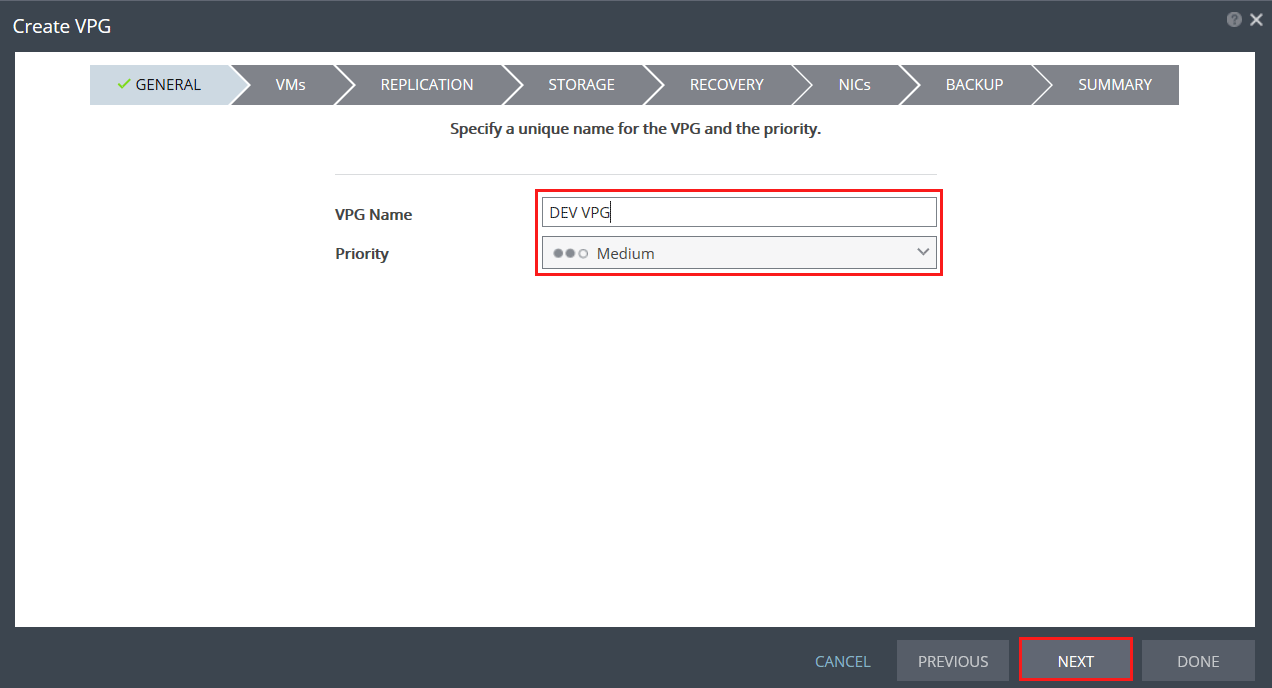
From the Create VPG wizard, enter a VPG Name and set a Priority. The Priority level designates the bandwidth allocated for data transfer. For example, a High Priority VPG transfers data changes first. The remaining bandwidth is then allocated to Medium Priority VPGs, and last is given to Low Priority VPGs. Another item worth noting here is that already protected VPGs are going to receive bandwidth shares ahead of syncing VPGs. That way existing VPGs aren’t affected (forced into a bitmap sync) by the addition of a new VPG.
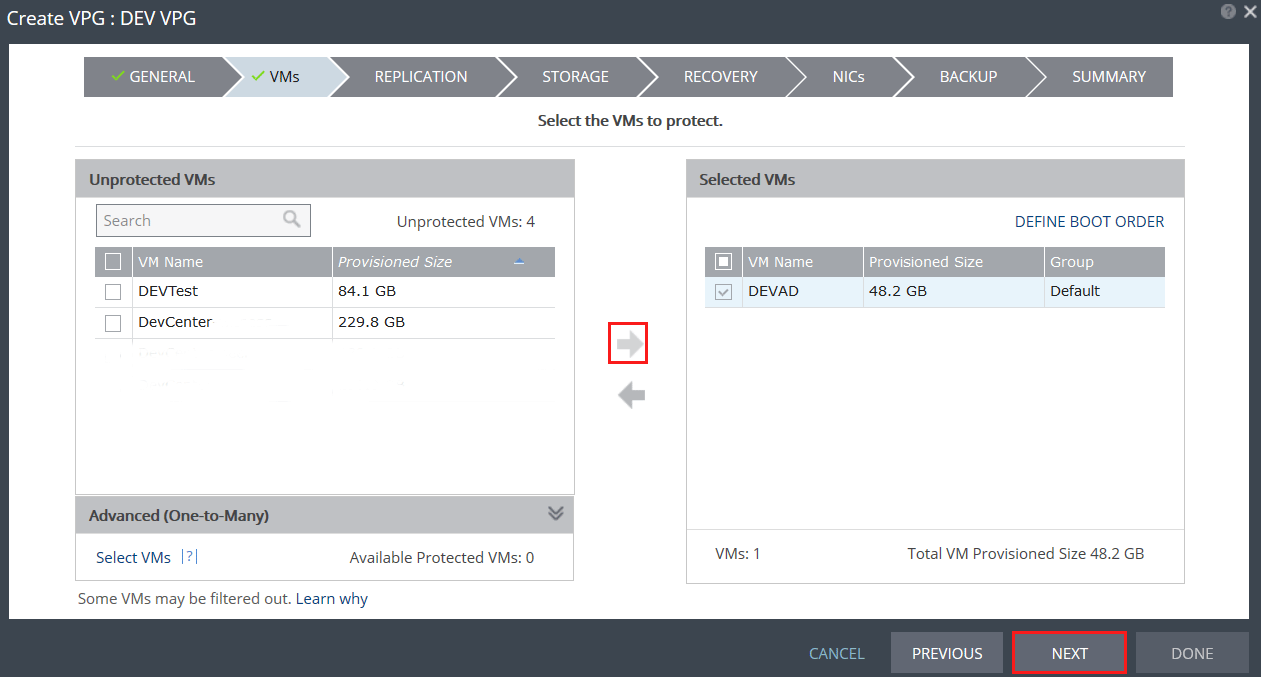
Next, select the VMs to protect. If there are multiple VMs in the VPG, a boot order can be defined.
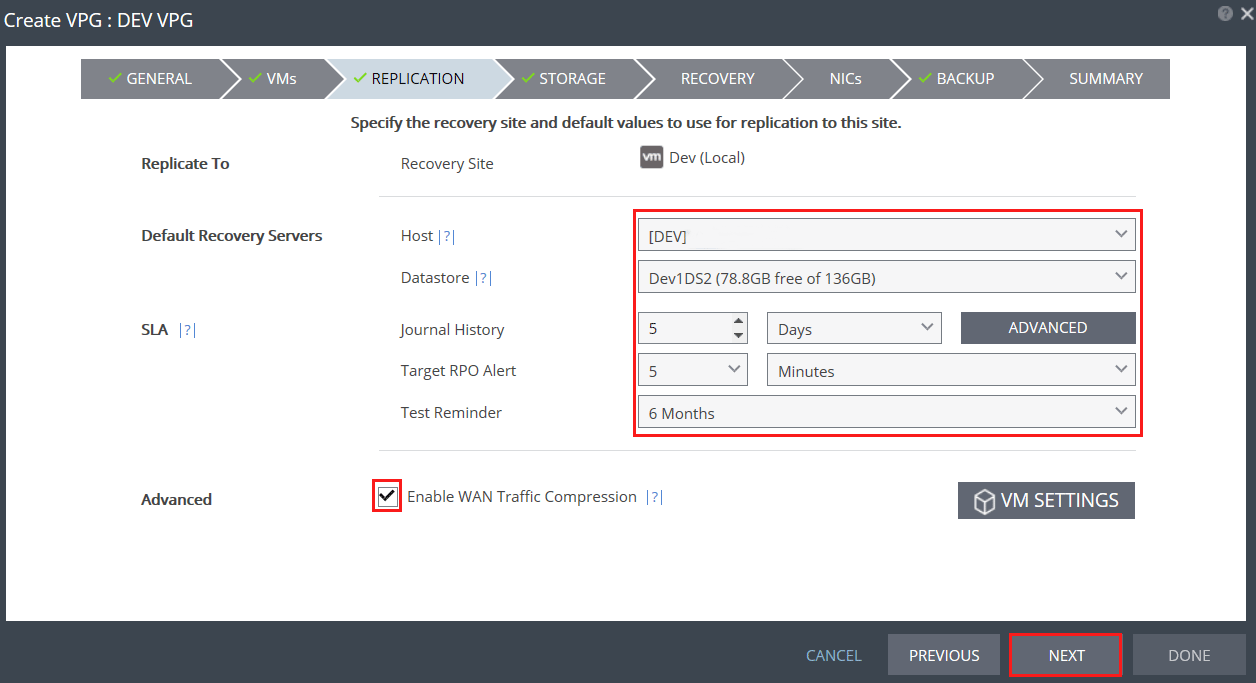
Next, specify recovery site information; including, the recovery host to handle replication, the recovery datastore where the VM volume resides, SLA requirements, and if Zerto will compress data before transfer to the recovery site. Advanced SLA settings allow admins to specify a different Journal datastore (where the checkpoints are held) as well as journal hard limits and warning thresholds.
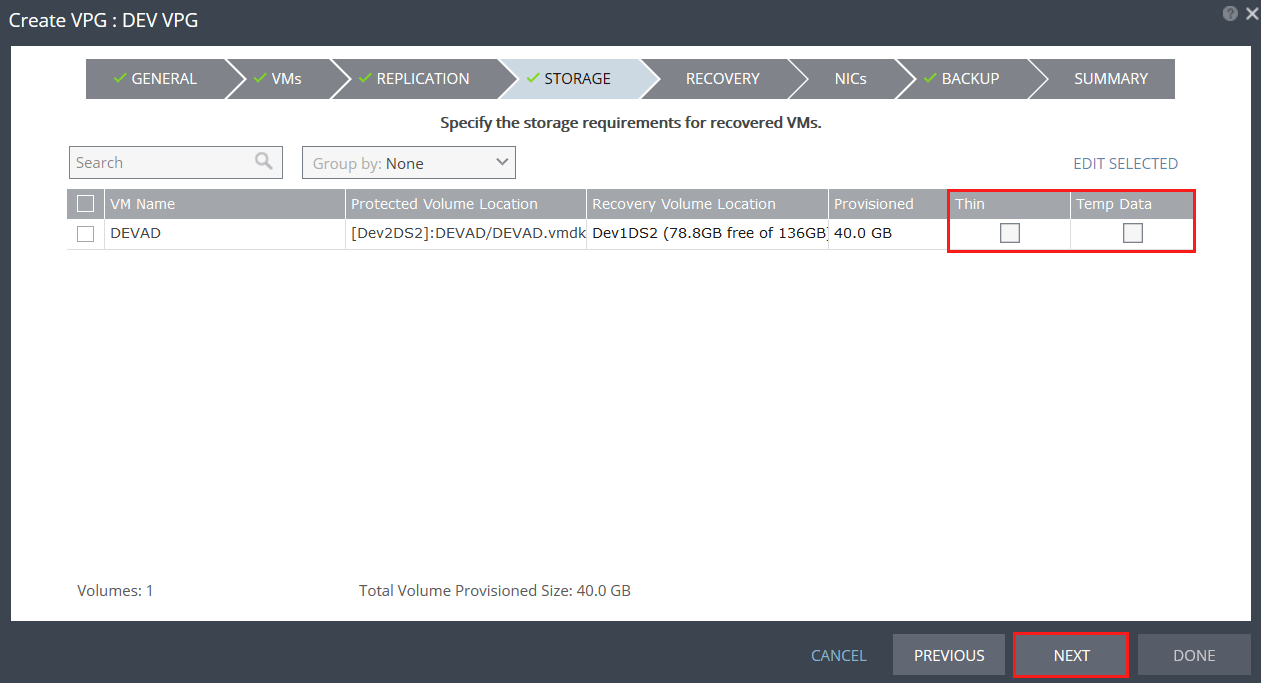
Designate if the recovery volumes are thin provisioned or temp data. A disk marked as Temp Data will perform an initial data sync, but not replicate any subsequent changes.
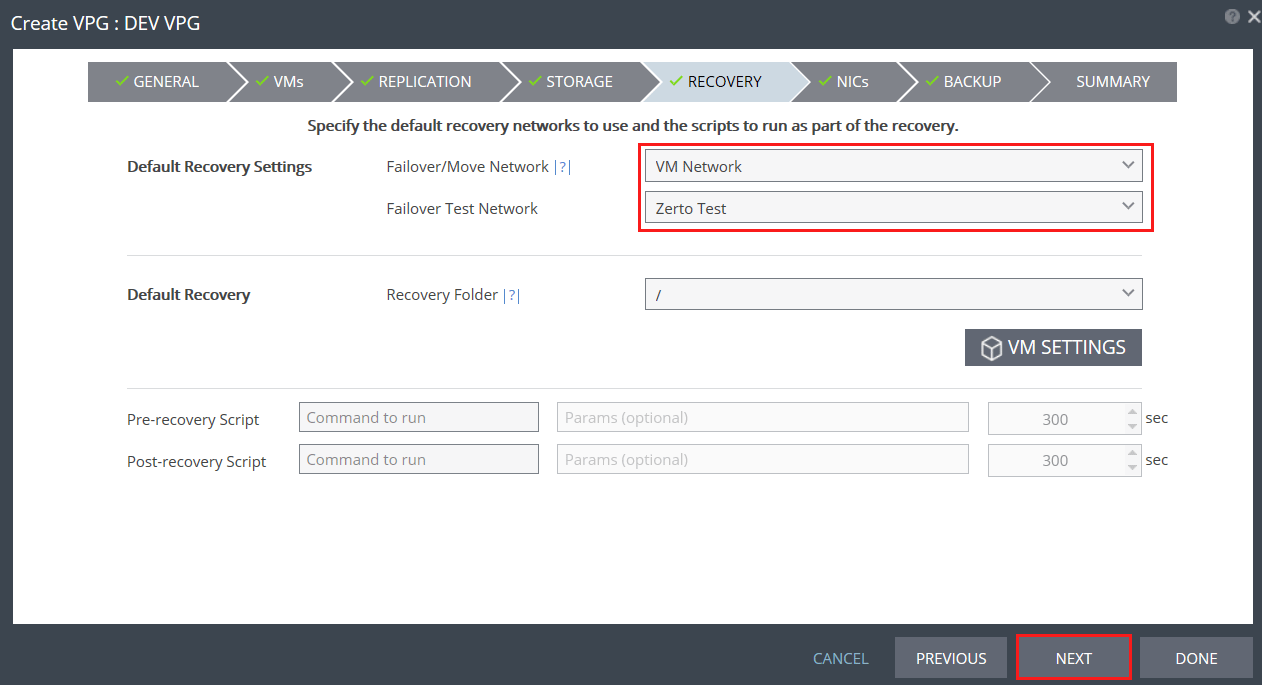
Under Recovery, designate the networks used for failovers or tests. In our example, the Failover Network is the production network, whereas; the Failover Test is an isolated network.
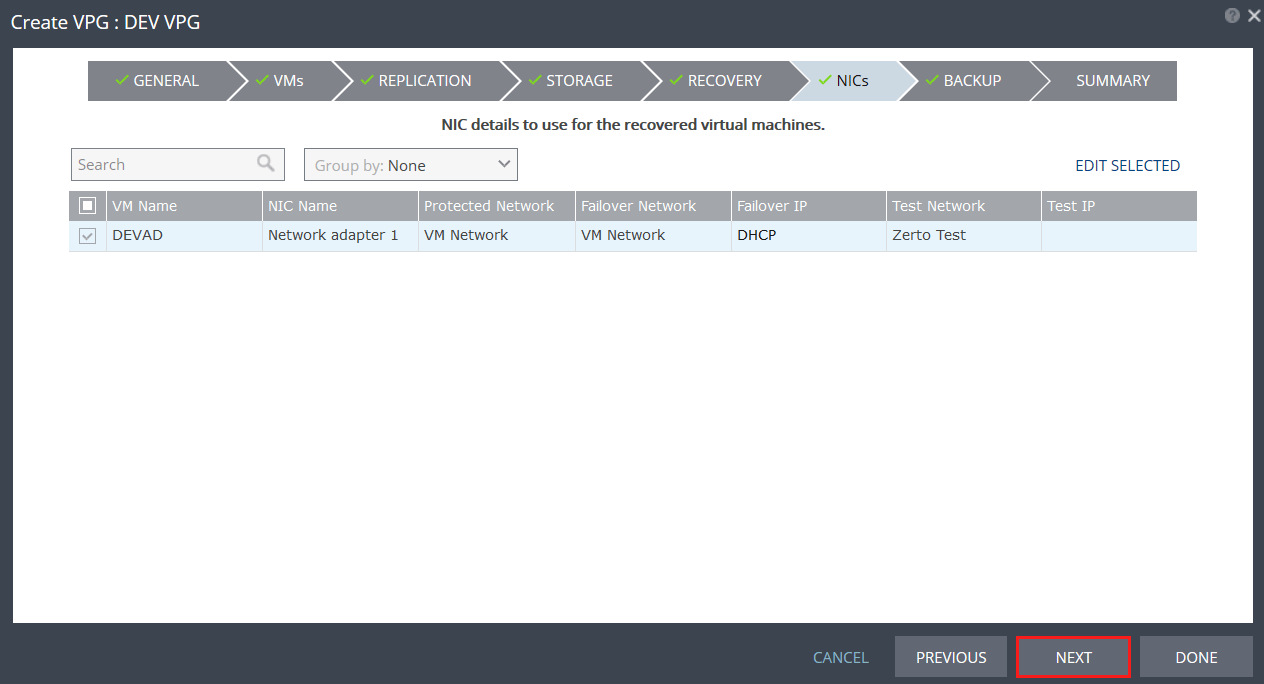
Under NICs, specify the recovery NIC details. If your machines have VMware Tools or System Integration Tools, they can be automatically re-IP’d upon failover with the settings stated here.
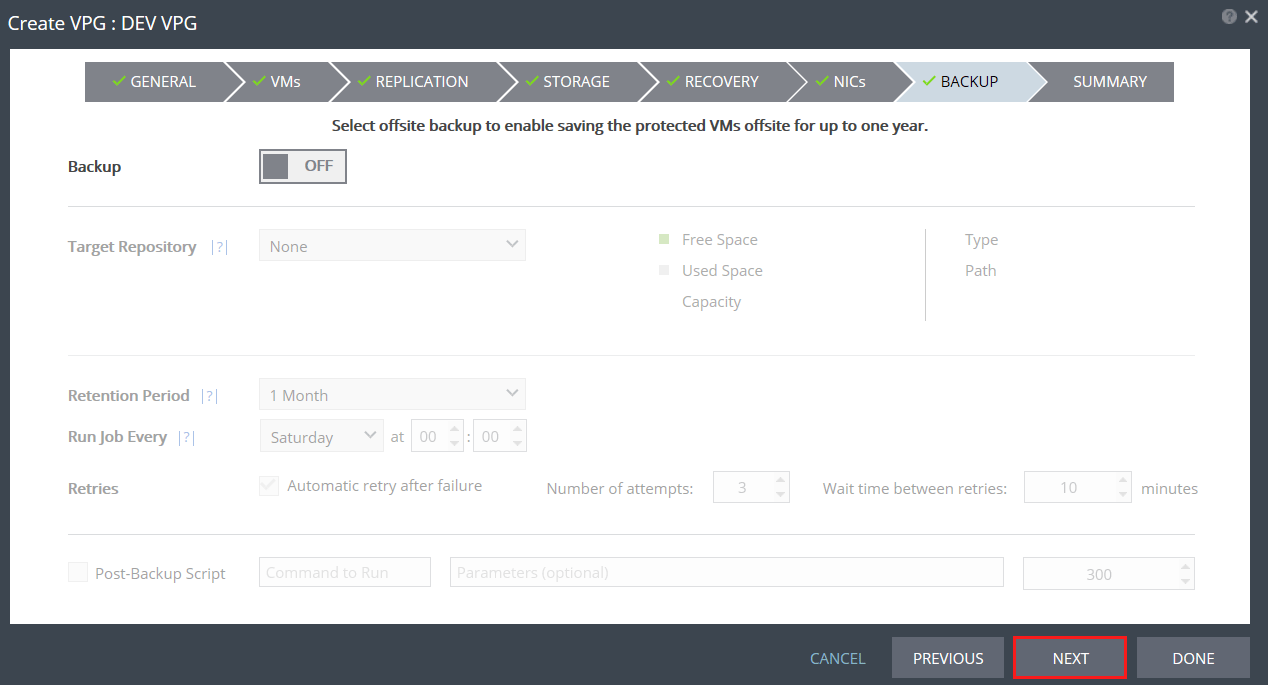
The Backup tab allows admins to setup Zerto’s backup function. For this example, we are only worried about replication, so we will leave it off.
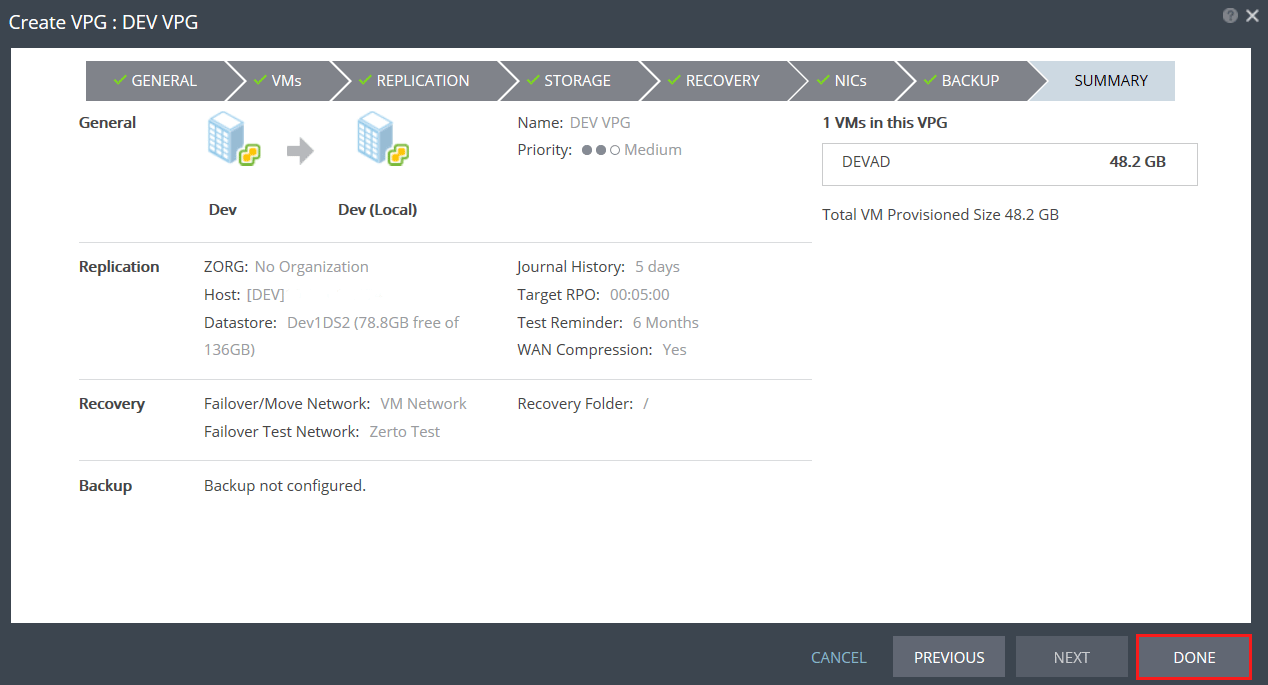
Last, review the VPG summary. Select Done to kick off the VPG creation.
In the VPG List, VPG creation can be monitored.
Once the VPG has been created, an initial data sync will be performed and your data will begin replicating!
Related Posts

