How to Install Nested ESXi 6.7 on Ravello
If you are new to Oracle Ravello, it is a cloud-based service that enables you to natively deploy your VMware or KVM workloads to Oracle Public Cloud, AWS, or Google Cloud. This is made possible by leveraging Ravello’s own nested hypervisor, HVX. HVX encapsulates your workloads and enables them to run on resources provisioned by Oracle, AWS, or Google without any re-architecting.
Upload VMware ESXi 6.7 ISO to Ravello
Let’s start by uploading our ISO to the Ravello Disk Image Library. To do this, navigate to the Library tab and select Disk Images.
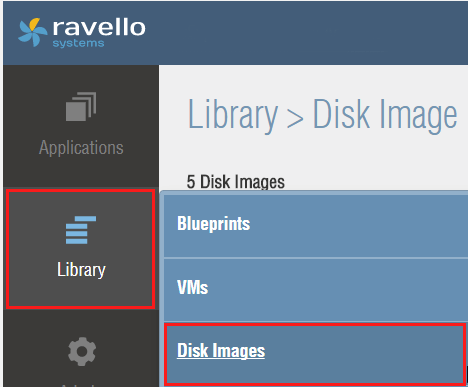
Next, click on Import Disk Image.

If you don’t have the Ravello VM Import Tool, you will be prompted to install. If you do have the Import Tool, it will launch at this time. Once the tool launches, log in with your Ravello account credentials.
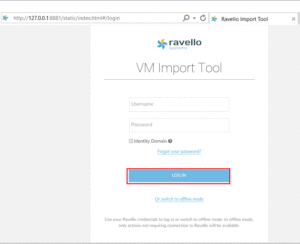
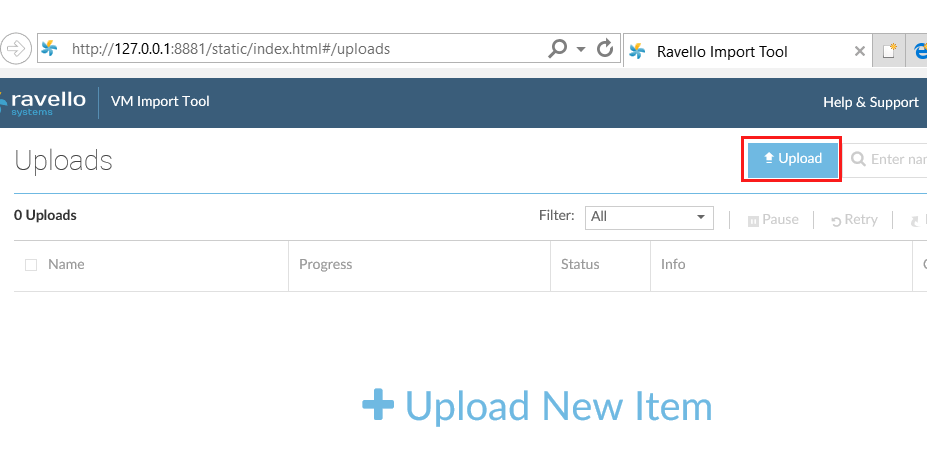
After logging in, click the Upload button.
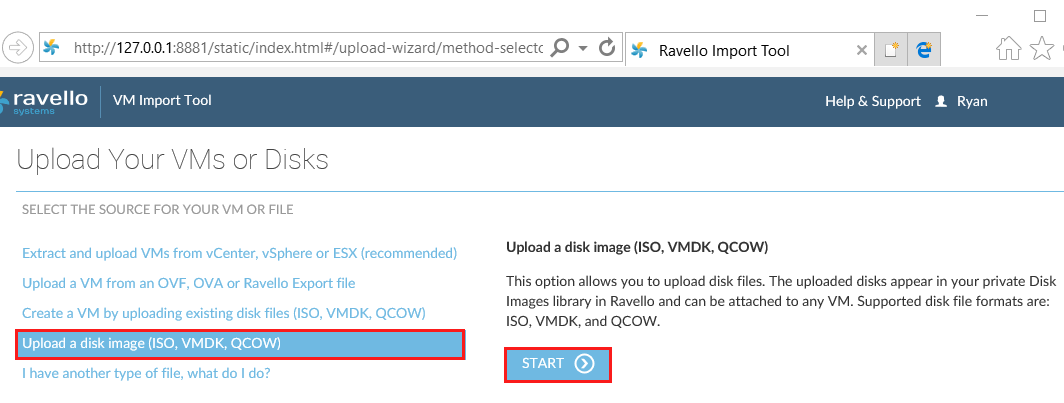
Since we are uploading an ISO, select Upload a Disk Image and press Start.
Select your VMware ESXi 6.7 ISO and press Upload.
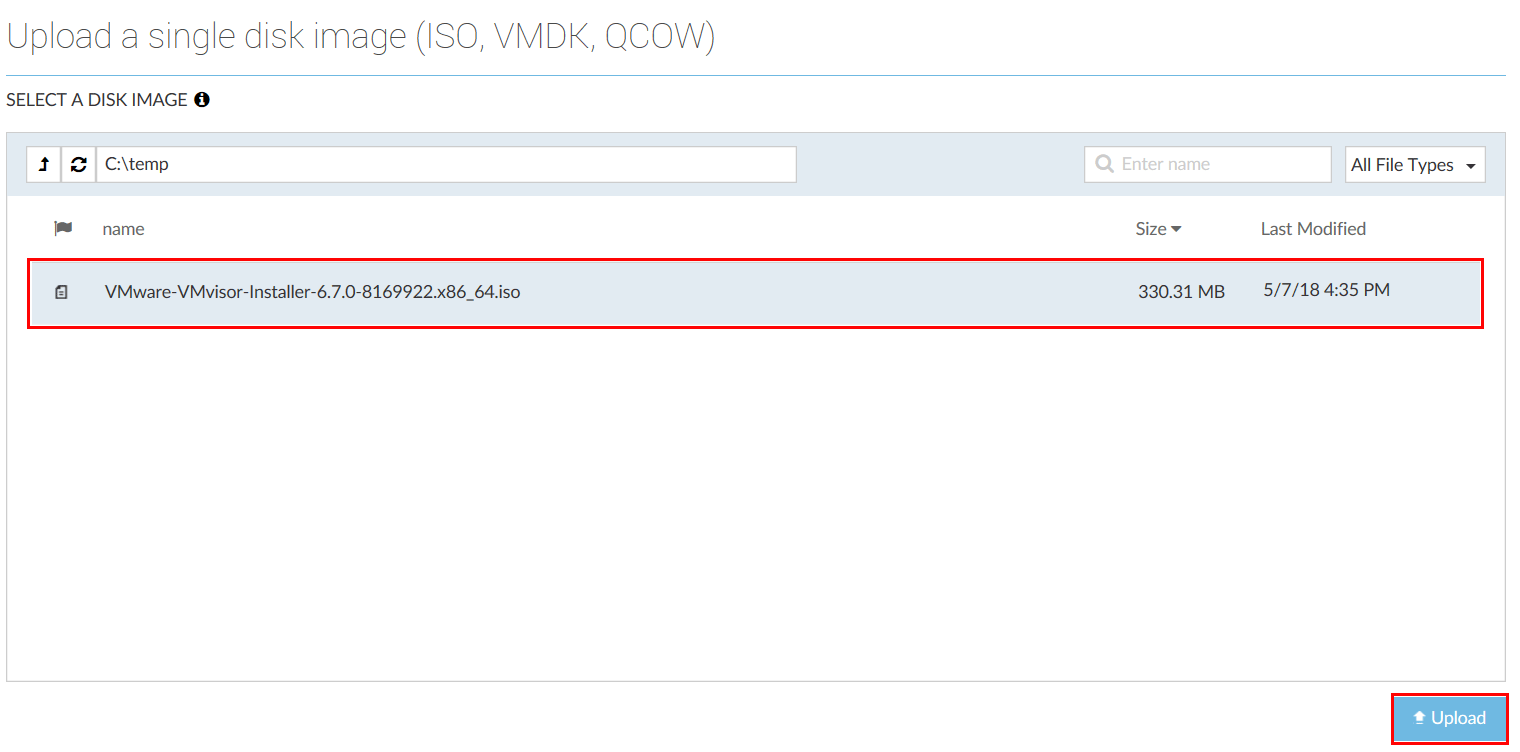
After the upload has finished, switch back to your Ravello Account. Verify your ISO resides in the Disk Image Library.

Now that we have the image uploaded, we can create an application instance for our ESXi virtual machine.
Create Ravello Application and Install ESXi 6.7
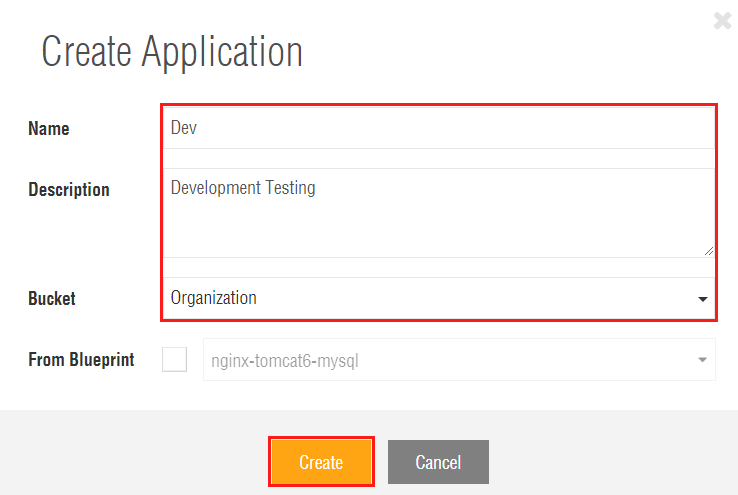
An Application is an encapsulated collection of virtual machines, networks, and storage devices that you configure and subsequently deploy to the cloud service. Applications can be single or multi-VM. To create an application, navigate to the Applications tab and click Create Application.

Enter the Application Name, Description, and Bucket
Now, we will add a VM to our application. We will utilize the Empty ESX VM as it is enabled for ESXi support. To add this VM, ensure you are on the Canvas tab. From the top-left select the Plus sign and locate the Empty ESX VM. Click and drag the Empty ESX from Available VMs to your Canvas.

Next, we will configure the VM settings for ESXi. In this tutorial, we focus on configuring the VM for ESXi 6.7. That being said, a variety of settings can be set from the configuration tabs. For example, you can configure name, CPU, RAM, disks, NICs, etc. Browse through the tabs and configure your machine based on your needs.
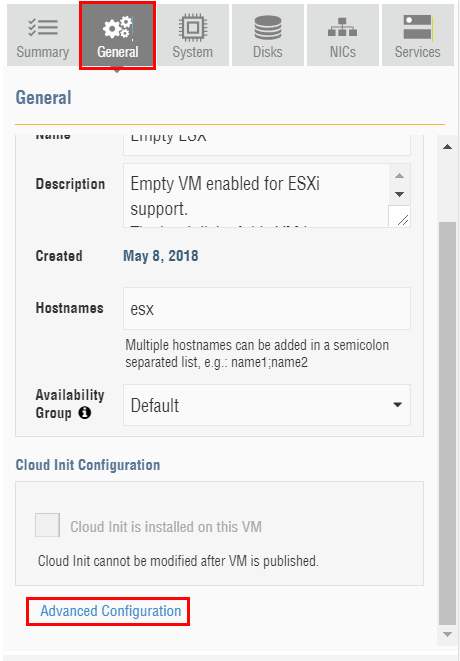
We will start with the settings, provided by Ian Sanderson, that are needed for running 6.7. On the VM, navigate to the General Tab and select Advanced Configuration.
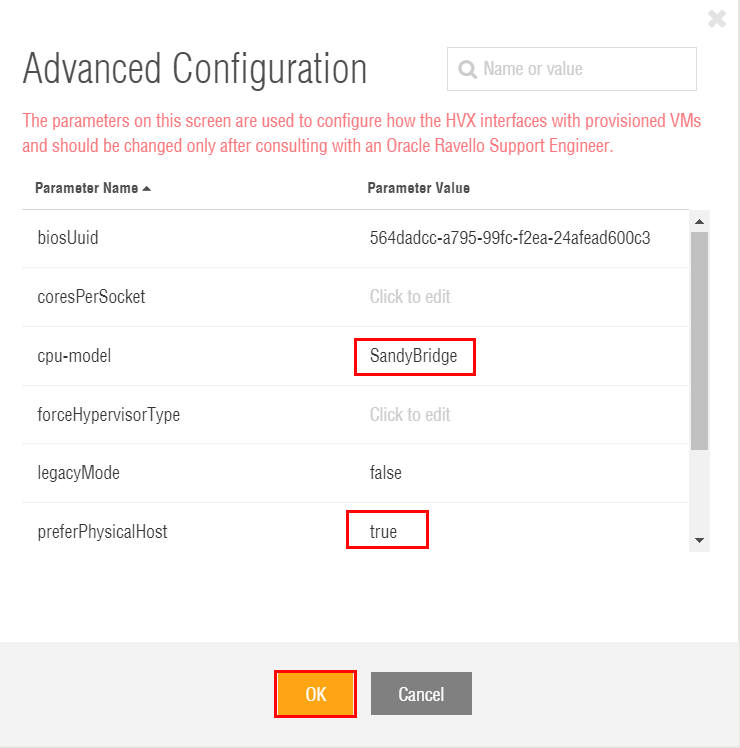
Under Advanced Configuration, set the cpu-model tag to SandyBridge and preferPhysicalHost to true. The preferPhysicalHost parameter enables the VM to run bare-metal.
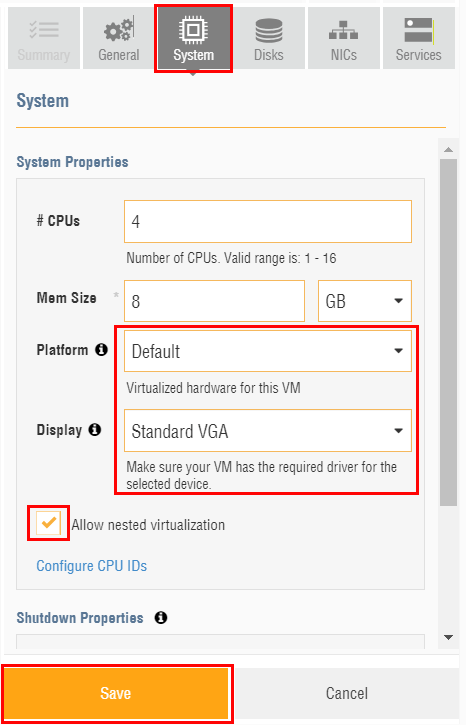
Next, navigate to System tab. Set the Platform to Default, the Display to Standard VGA and check Allow Nested Virtualization.
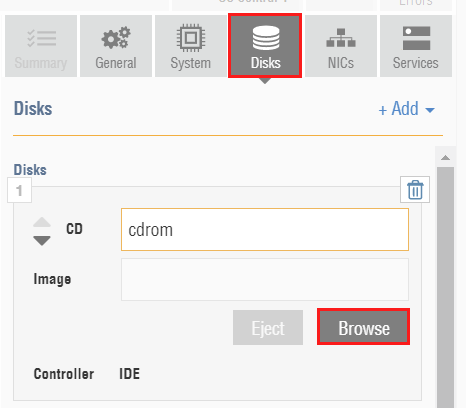
Next, we will mount the ESXi 6.7 ISO to the VM. To do so, navigate to the Disks tab. Click Browse under the CDROM disk.
Select the ESXi 6.7 Installer image. After the image mounts, click Save.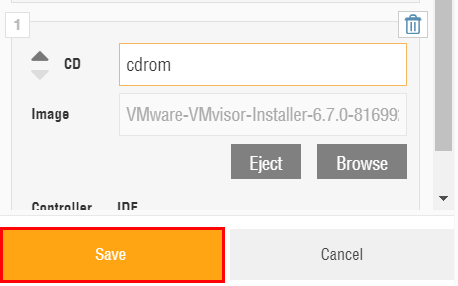
We are now ready to start our VM. To do so, click Publish on your application.

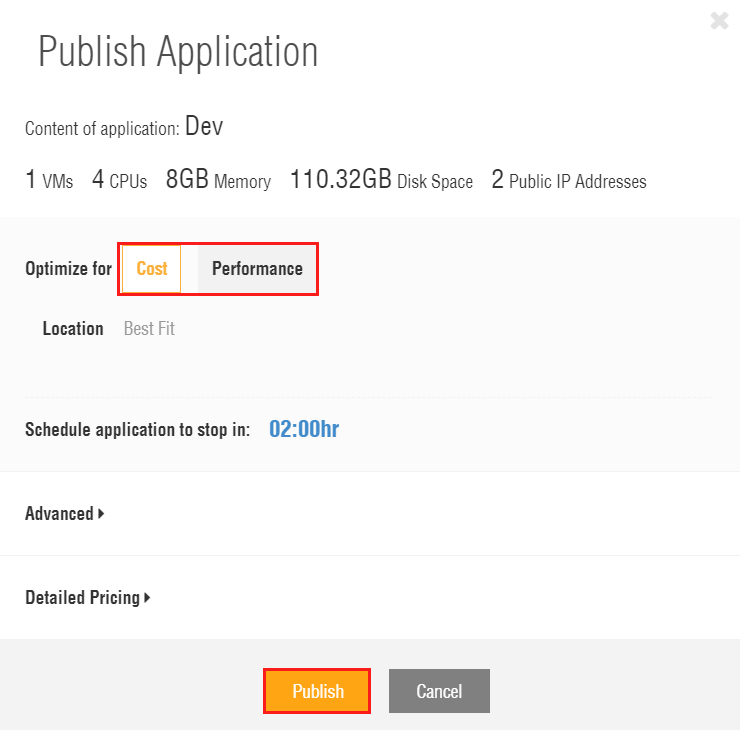
Before the application is deployed, review the configuration. Optimizations can also be set depending on pricing or performance preferences. Click Publish to deploy the application.
The VM start process will now begin. Once the VM has started, click the Console button to start a remote session.
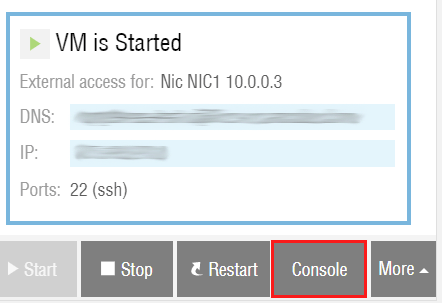
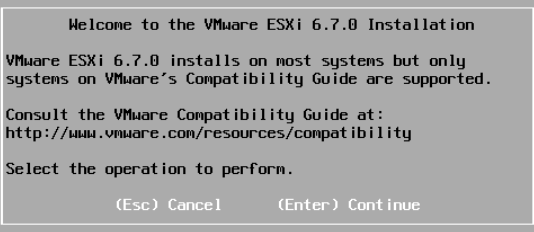
From this console window, you can begin ESXi installation.
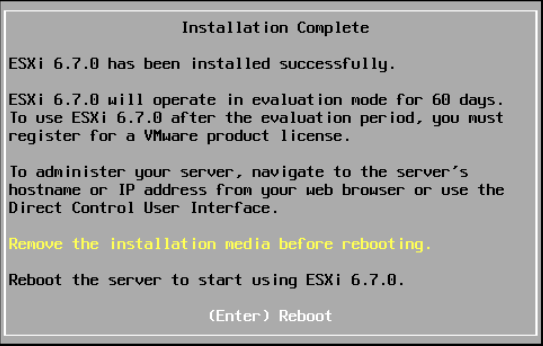
Once you have completed installation, stop before rebooting the VM to remove installation media from Ravello.
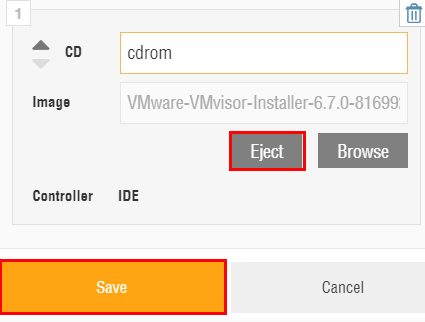
Switch back to the Ravello Canvas to remove the ISO. Navigate to the Disk tab and select Eject on the cdrom ESXi image. Click Save once the image has been removed.
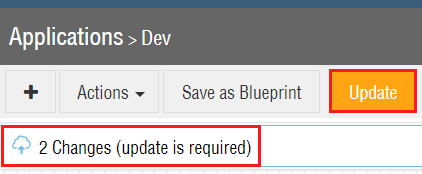
An alert indicating an update is required will display at the top of the Canvas. Select Update to apply your recent changes.
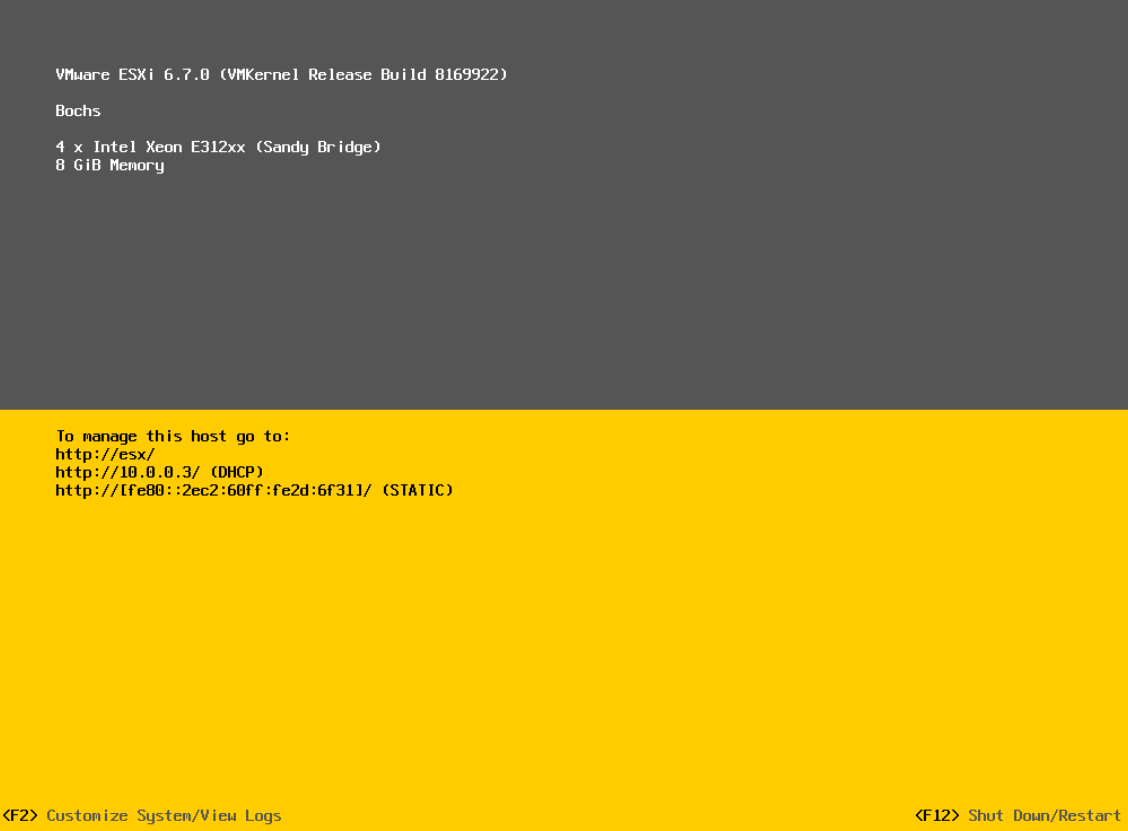
Navigate back to the console screen and hit Enter to initiate the reboot. If the image ejected correctly, the VM will boot into VMware ESXi.
Introducing VMware vSphere 6.7
Related Posts
3 thoughts on “How to Install Nested ESXi 6.7 on Ravello”
Thanks so much for the post.Really thank you! Great.
Hi!,
this is great guide and million thanks for providing this to us.
Unluckily there is no more “PreferPhysicalHost” setting available in Ravello. Any idea what’s the new name for that?
If in this version 6.7 vCenter should be still installed by VM on ESXi ? on Ravello ?
Comments are closed.