How to Upgrade Zerto Virtual Replication
A little house cleaning before we start:
- ZVM allows for n+1 version upgrades, meaning if you are on version 5.0, you can upgrade to any version 5.0 update. However, to upgrade to version 6.0, you would need to upgrade to version 5.5 and then upgrade to version 6.0

-
- According to Zerto’s End of Support Matrix, 5.0 will go End of Standard Support and Technical Guidance at the End of August 2018.
- The order in which you upgrade the protected and recovery sites does not matter as long as the sites are only one version apart.
- Zerto recommends always upgrading VRAs. However, these can also function as long as the VRAs are only one version lower than the installed version of Zerto for that site.
- Best practice dictates backing up the ZVM Server pre-upgrade.
- Upgrading Zerto maintains the current setup (ie. VPGs, configs, etc) and checkpoints. However, I also backup Virtual Protection Group settings before upgrading in case anything goes sideways. That way if I did need to re-build the VPGs, I could just re-import them.
- Check the Interoperability Guide for supported environments.
How to Upgrade Zerto
First, download and Extract the Installer to the ZVM server.
Next, stop the Zerto Virtual Manager service. This is a good time to snapshot or backup the ZVM in case the upgrade fails.

Run the Zerto Virtual Replication VMware Installer.

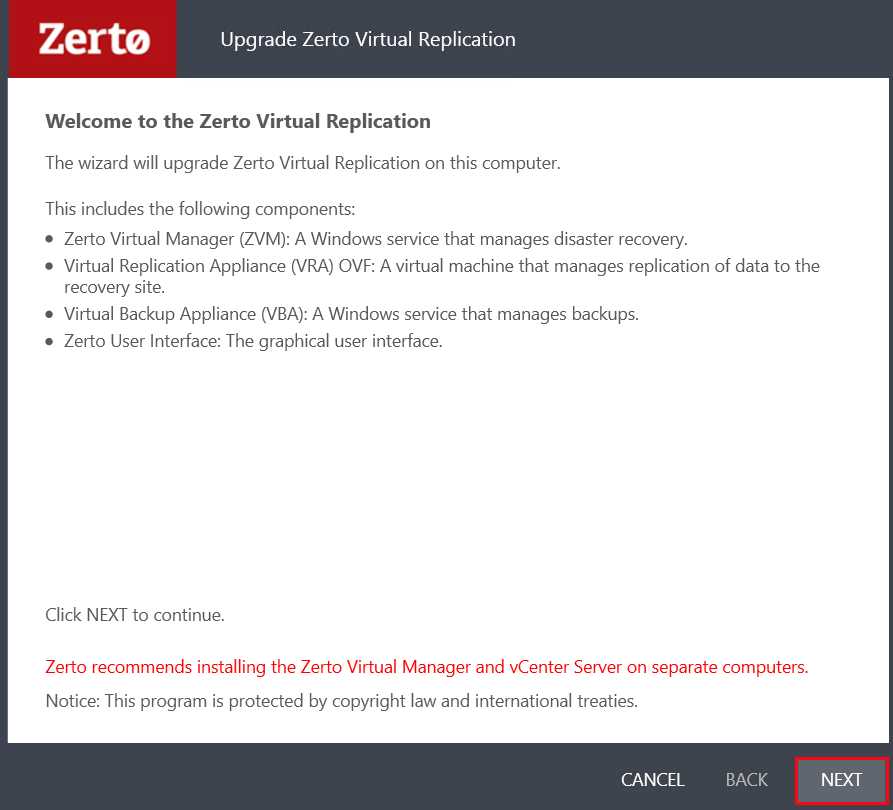
After the Upgrade Zerto Virtual Replication wizard launches, select Next to begin the process.
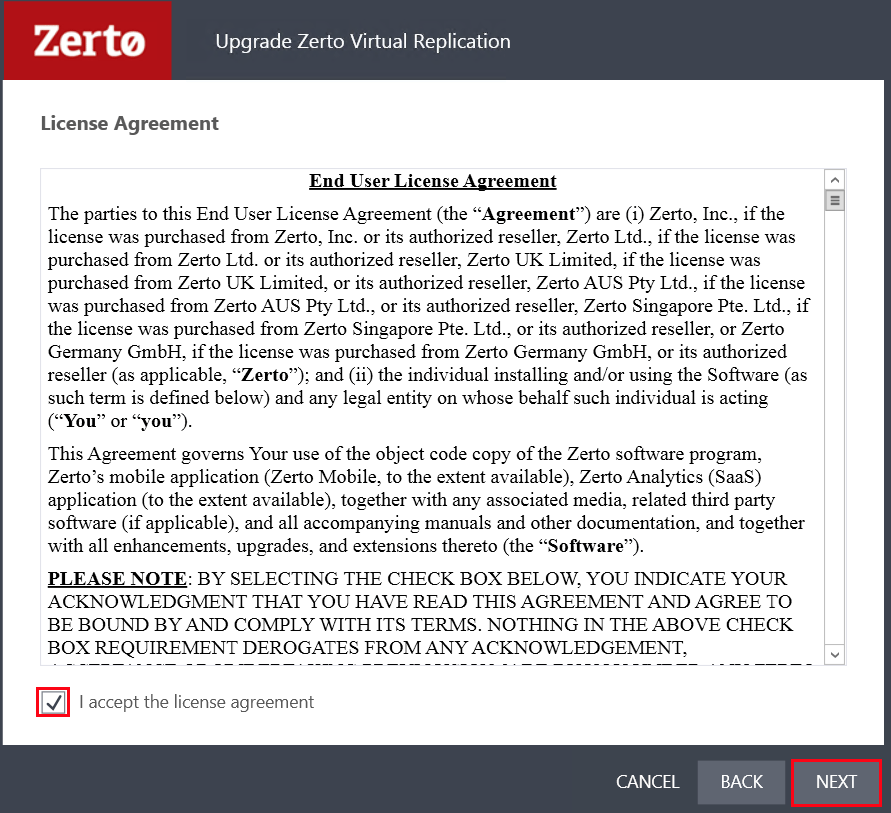
Click Next after you have read and Accepted the EULA.
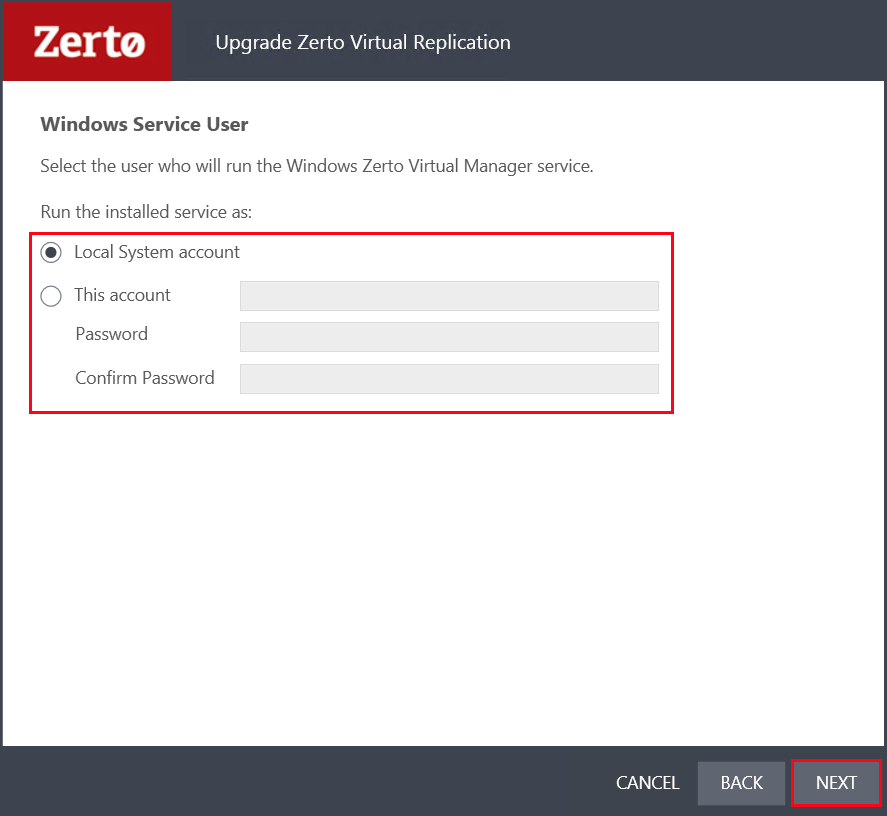
Indicate what account you would like to run the Windows Zerto Virtual Manager service.
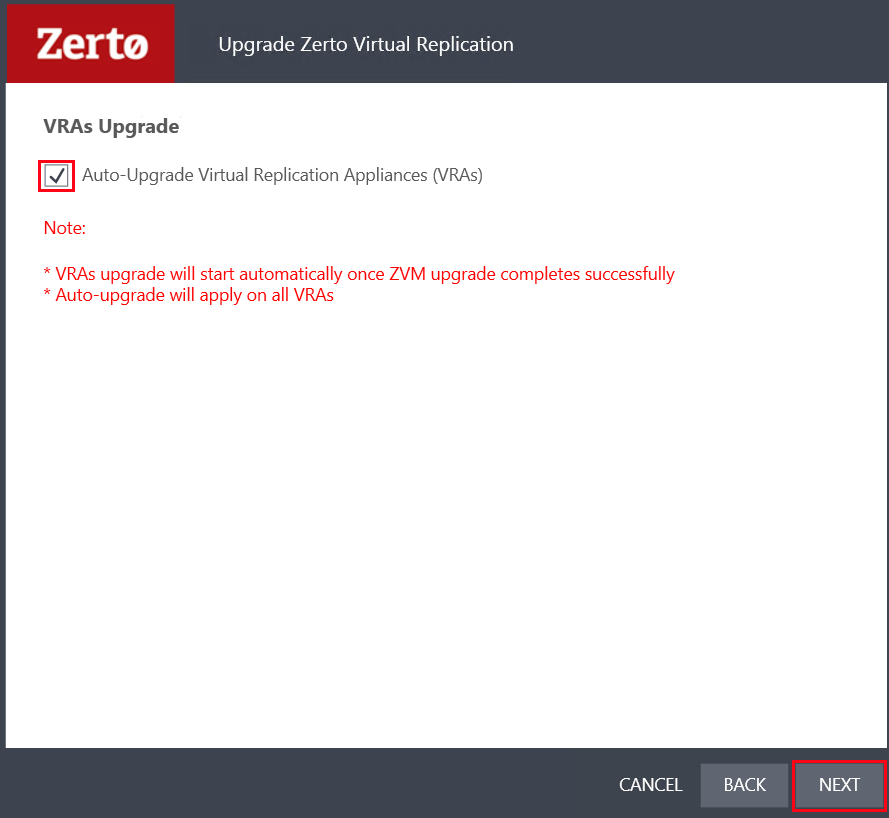
Next, you will have the option to Auto-Upgrade the Virtual Replication Appliances.
During the VRA upgrade, no new checkpoints are written. However, a bitmap sync will be performed post VRA upgrade.
Once the pre-upgrade validation check completes, click Run to begin the upgrade.
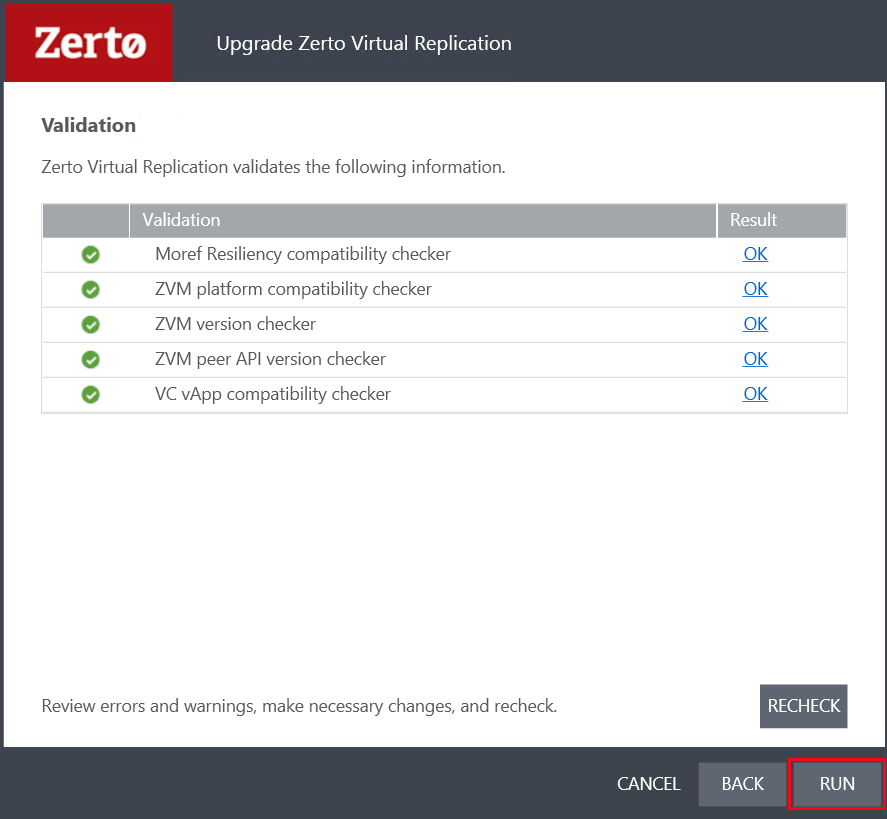
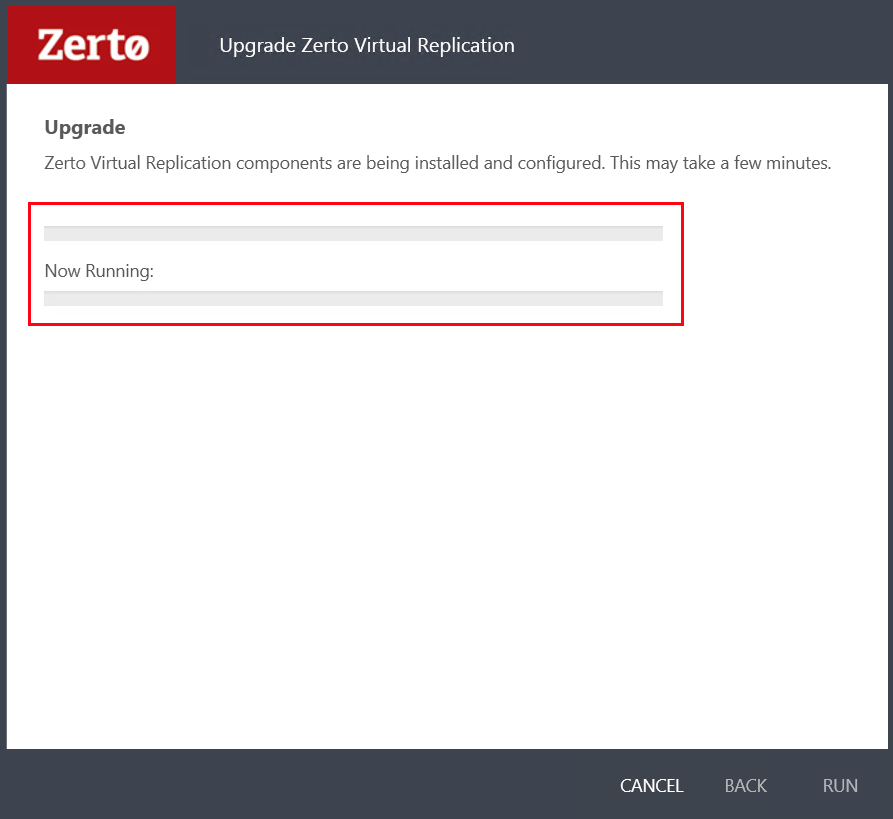
The ZVM upgrade will now begin.
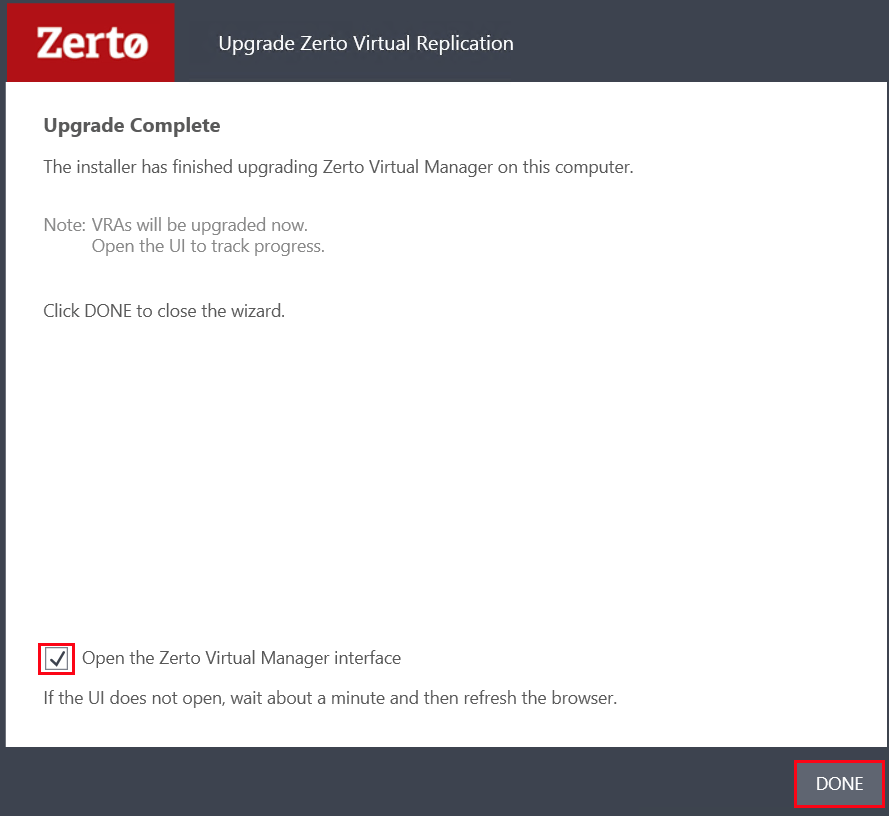
Once complete, they VRA’s will begin to upgrade. You can monitor this process via the ZVM GUI. Click Done on the wizard to navigate back to the GUI.
Under Running Tasks, you will be able to monitor the VRA upgrade progress.
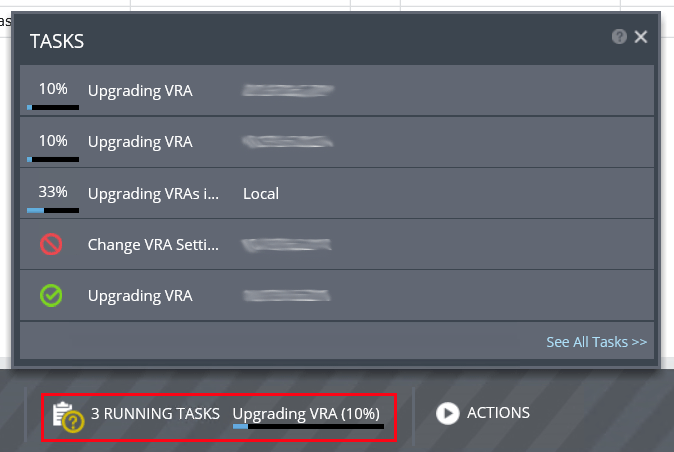
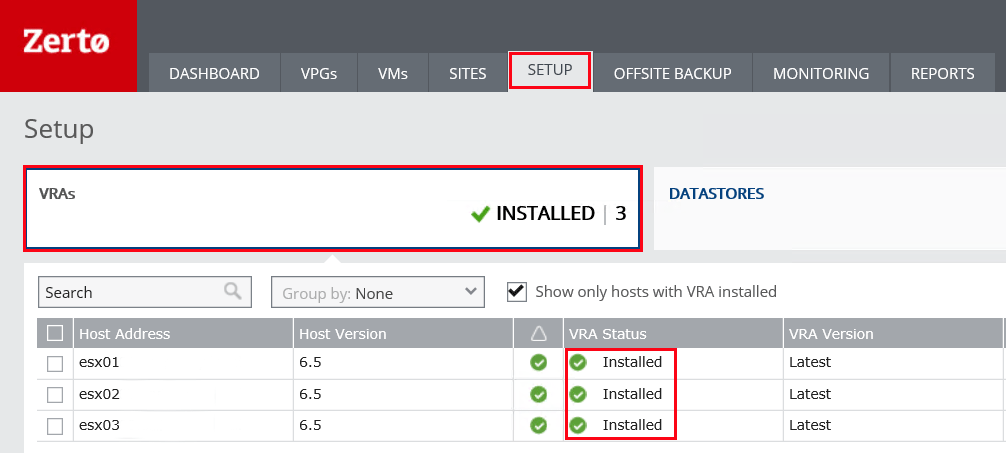
You can also monitor progress from VRAs under the Setup tab. Once the upgrades are completed, VRAs will show a status of Installed.
That’s it! Easy right?
Related Posts