AutoLab vSphere 6.7 Deployment on Ravello
Background – If you are unfamiliar with AutoLab, it is a deployment kit which automates the build of a nested VMware vSphere lab environment. In Ravello, the AutoLab 3.0 deployment consists of six (6) VMs.
- (1) FreeNAS Storage Appliance
- (1) Windows Server – Domain Controller
- (1) Windows Server – VMware vCenter (VMware vCSA not supported)
- (3) Nested VMware ESXi Hosts
Although most of the AutoLab deployment is automated, the build takes approximately 3-4 hours to finish.
The AutoLab download contains freely distributable software; however, there are a few licensed images you must provide to complete the build, specifically VMware vSphere, vCenter, and Windows Server.
Let’s start!
To prep, we will import the VMware and Windows ISOs and add the AutoLab Blueprint.
Upload Images to Ravello
For our build, there are three ISOs that need to be imported into the Ravello Library; VMware ESXi 6.7, VMware vCenter 6.7 (Windows), and Windows Server 2016.
Navigate to Disk Images under the Library tab.
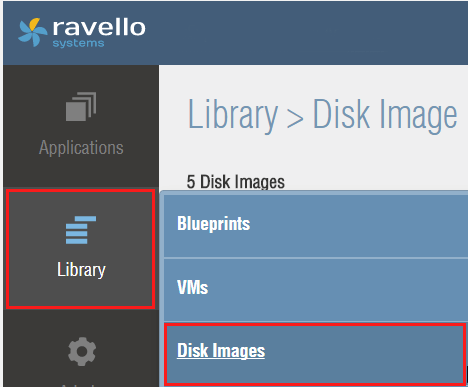
Next, click Import Disk Image.

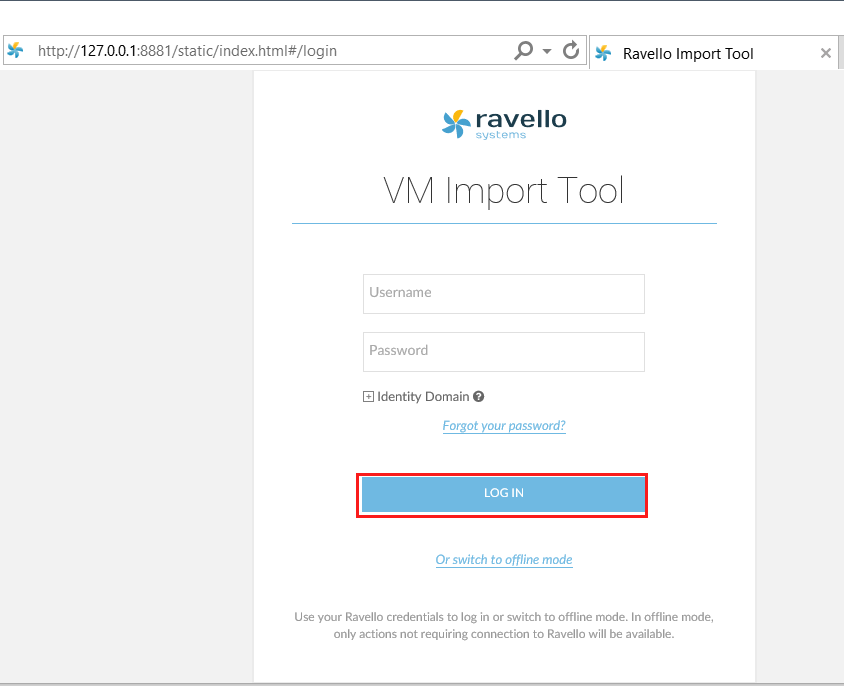
This will launch the VM Import Tool. Log in with your Ravello account credentials. If you don’t have the Import tool, you will be prompted to download.
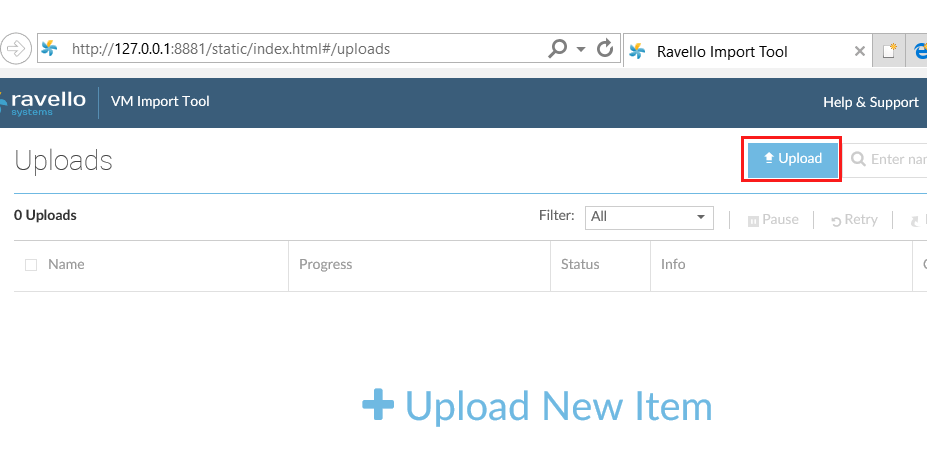
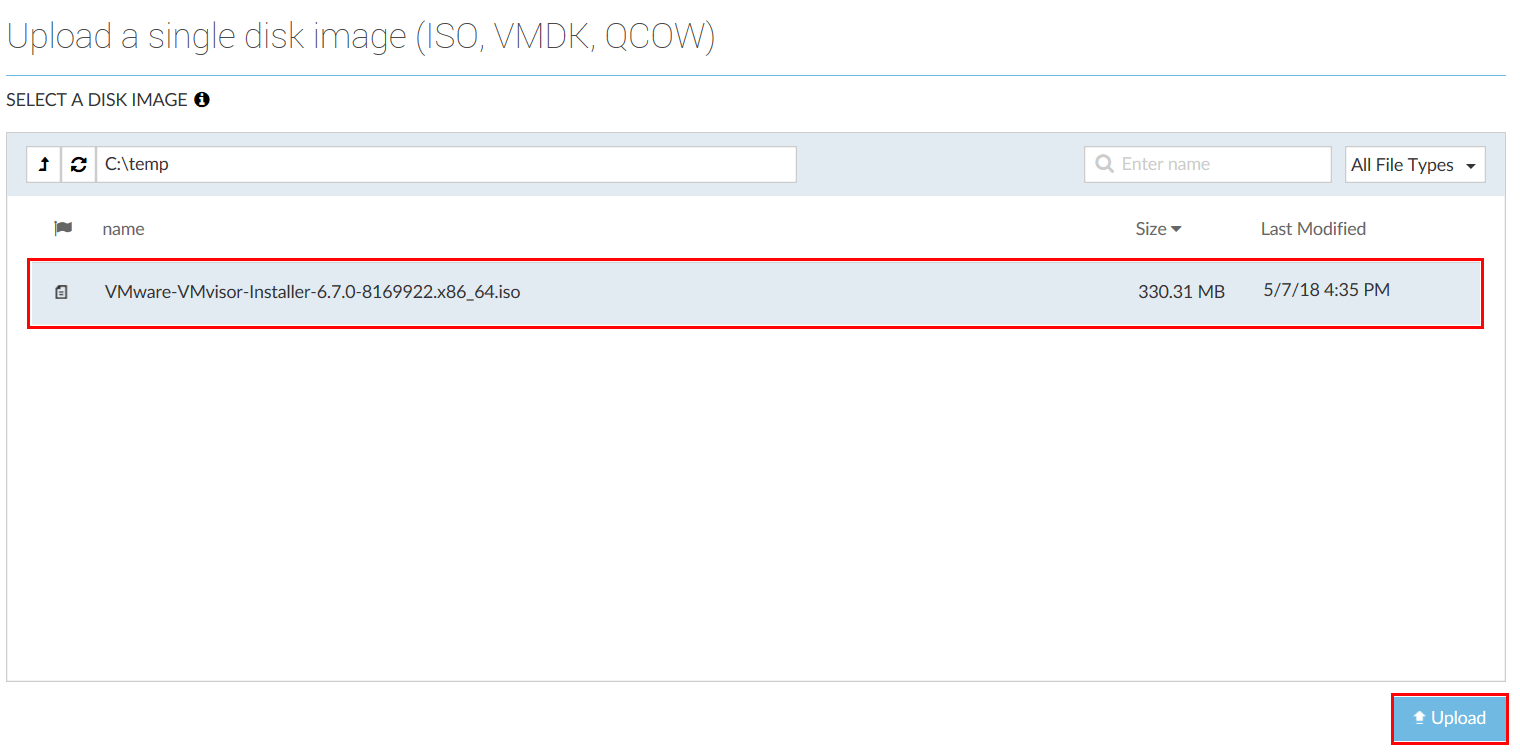
Once you have logged in, click Upload.
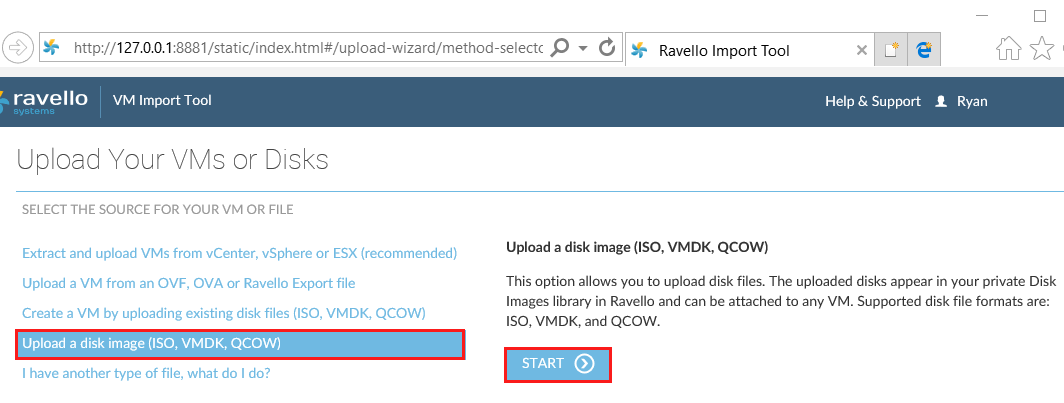
Next, select Upload a Disk Image (ISO, VMDK, QCOW) and press Start.
Select and Upload the Windows Server, ESXi, and vCenter ISOs.
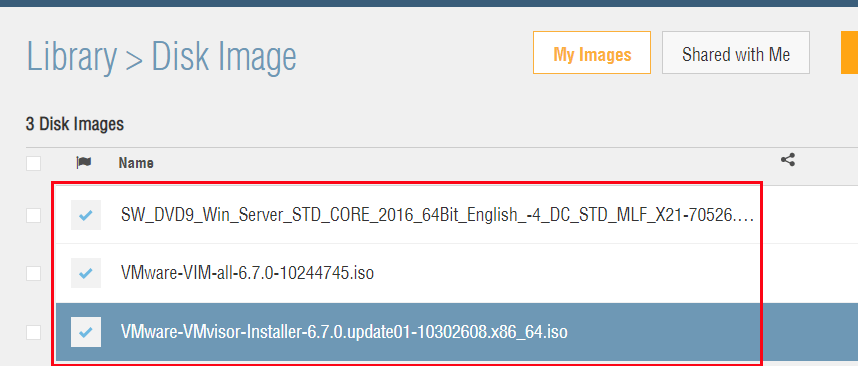
After the uploads are completed, navigate back to your Ravello Account and verify the ISOs are populated in the Disk Image Library.
Now that we have added the images to our Disk Library, we will add the AutoLab blueprint to Ravello.
Add AutoLab Blueprint to Ravello Library
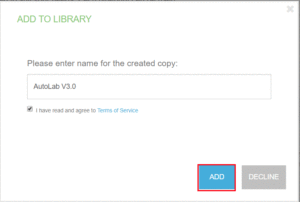
Navigate to the Ravello Repository (https://www.ravellosystems.com/repo/). Locate the AutoLab V3.0 Blueprint and select Add To Library.

You will be prompted to enter a name as well as read and agree to the TOS. Click Add when finished.
Create AutoLab Application
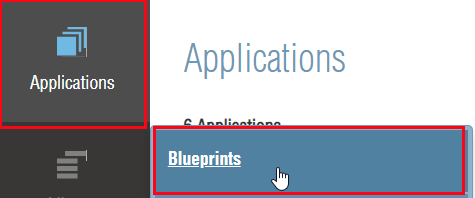
Navigate to the Applications menu and select Blueprints.
Next, select the AutoLab V3.0 blueprint and click + Create Application.

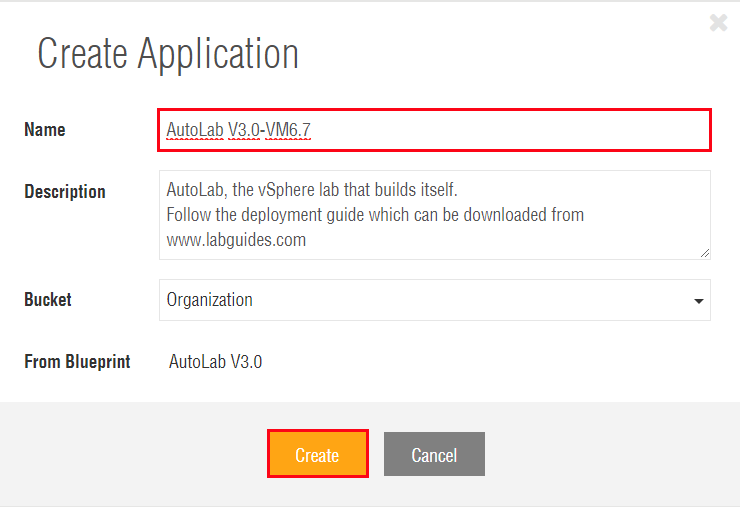
Enter a Name for the Application and select Create.
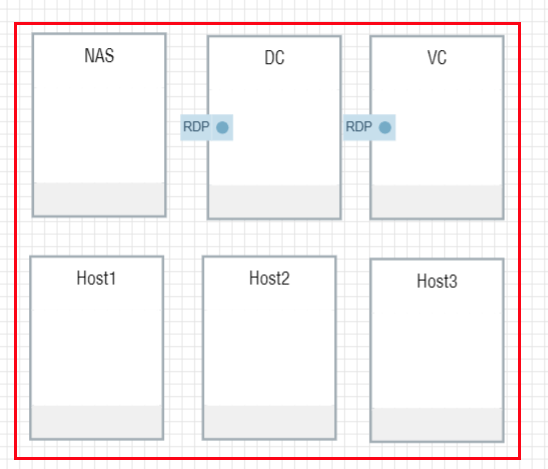
Looking at the canvas we can see the six VMs included in the AutoLab blueprint. These VMs are pre-configured, however, we will need to make a few changes before we publish the application for deployment.
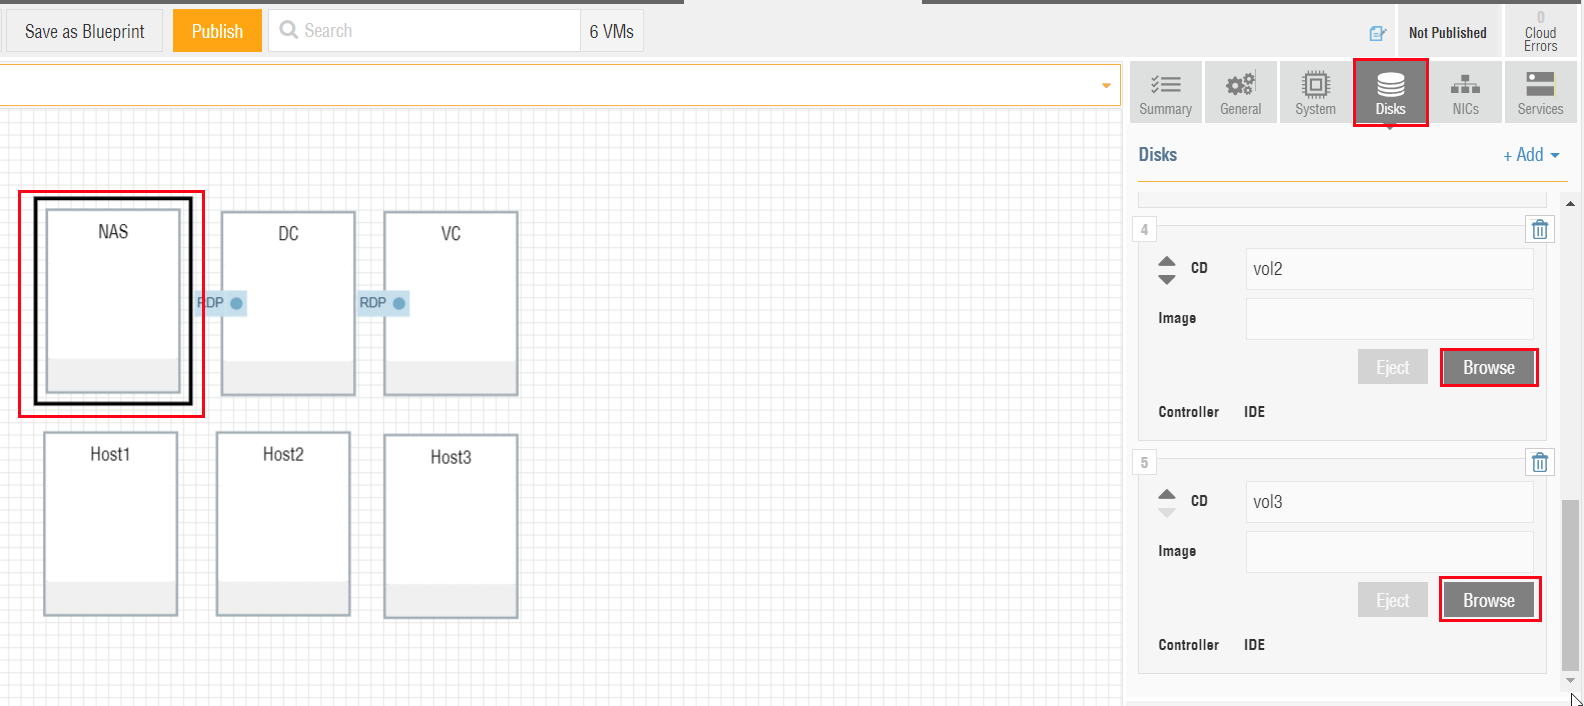
First, we need to attach the ESXi and vCenter ISOs to the NAS VM. Doing this will populate a Build Share that will be utilized later for the auto deployment of our vCenter server and ESXi hosts.
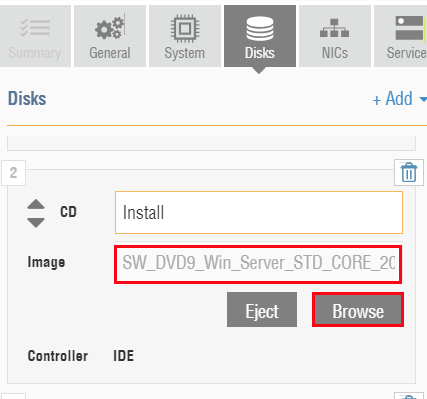
To attach the ISOs, click on the NAS VM and navigate to the Disks tab. Locate the CDROM devices at the bottom and click Browse to attach the pertinent ISOs.
Note – The deployment script will look for the ISOs to be in their standard naming format (VMware-VMvisorxxxx.iso and VMware-VIMSetupxxxx.iso). Therefore, if you changed the name at any point, you most likely run into issues later.
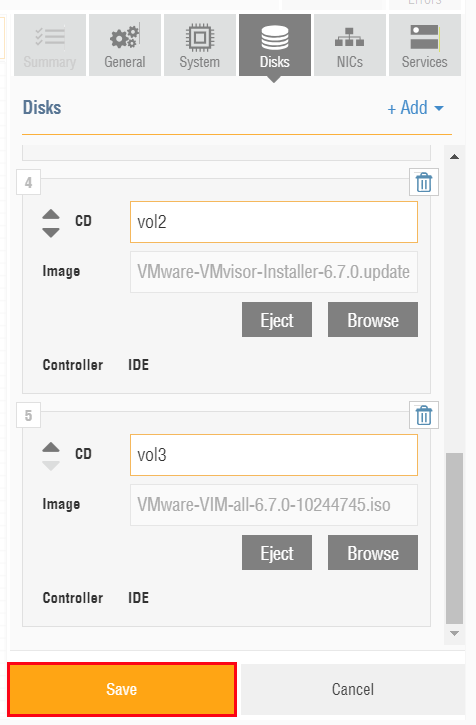
After the images have been attached, click Save.
Next, browse and attach the Windows Server 2016 ISO to both the DC and VC VMs. Save when finished.
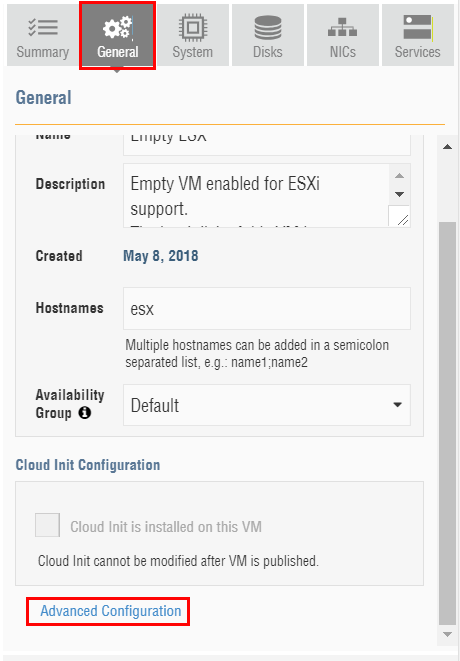
Lastly, since we are installing ESXi 6.7, there are few changes that need to be made on the host VMs. Select your first Host VM and navigate to the General tab. Scroll to the bottom and click Advanced Configuration.
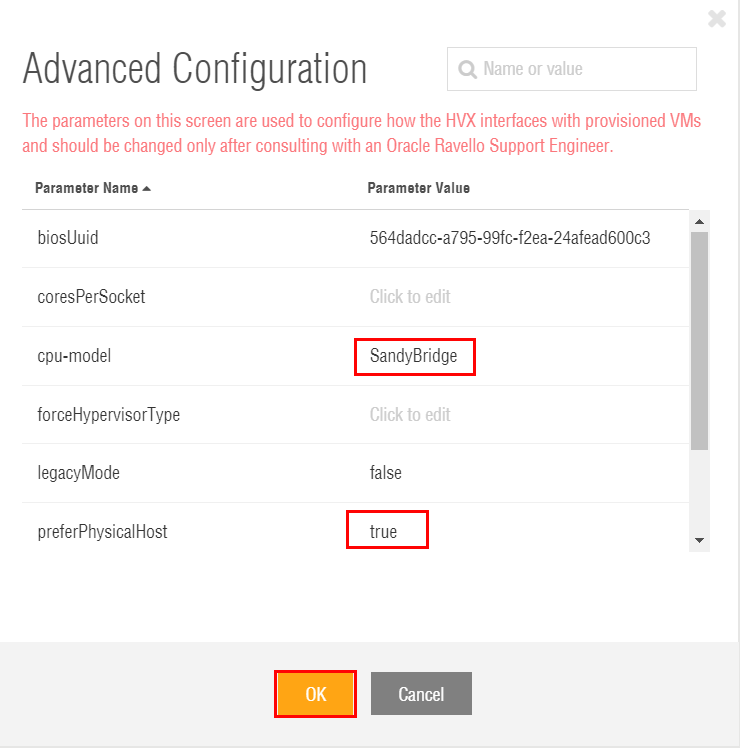
Locate the cpu-model parameter and set the value to SandyBridge. Next, set the preferPhysicalHost parameter to true.
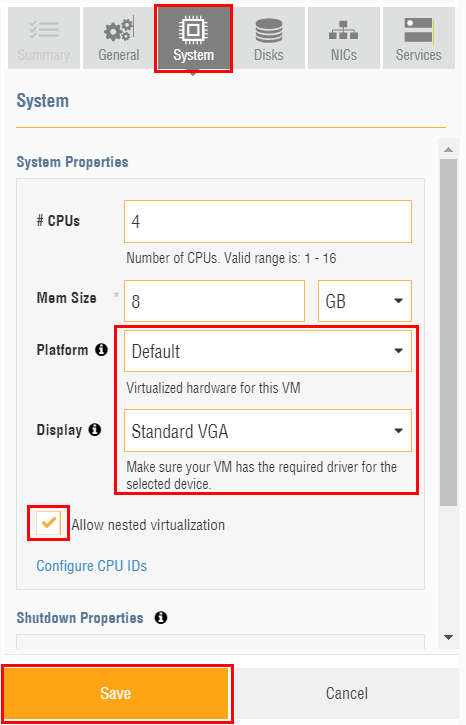
Now, navigate the System tab and set the following: Platform to Default, Display to Standard VGA, and select Allow nested virtualization. Save when finished.
Perform this process on all three hosts. After we verify everything is saved and updated, we can publish our application. To do so, select the Publish button.
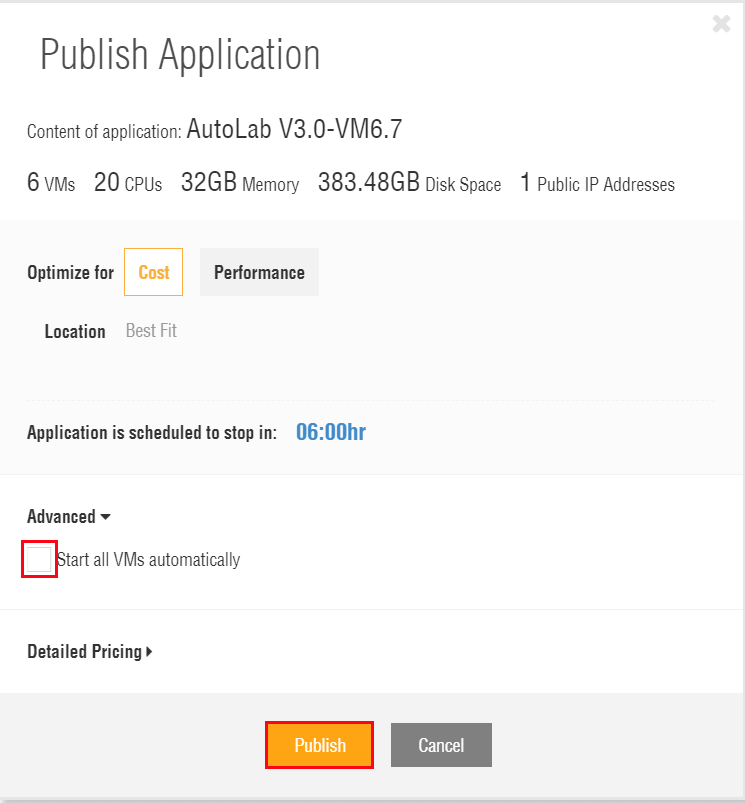
We are now given a set of choices for publishing our application. We will set the application to Stop in 6 hours. The deployment shouldn’t take that long, but this will ensure we won’t stop the application mid-build. Also, de-select the Start all VMs automatically. We will be powering on machines individually to start. Click Publish to begin.
Build NAS and Domain Controller
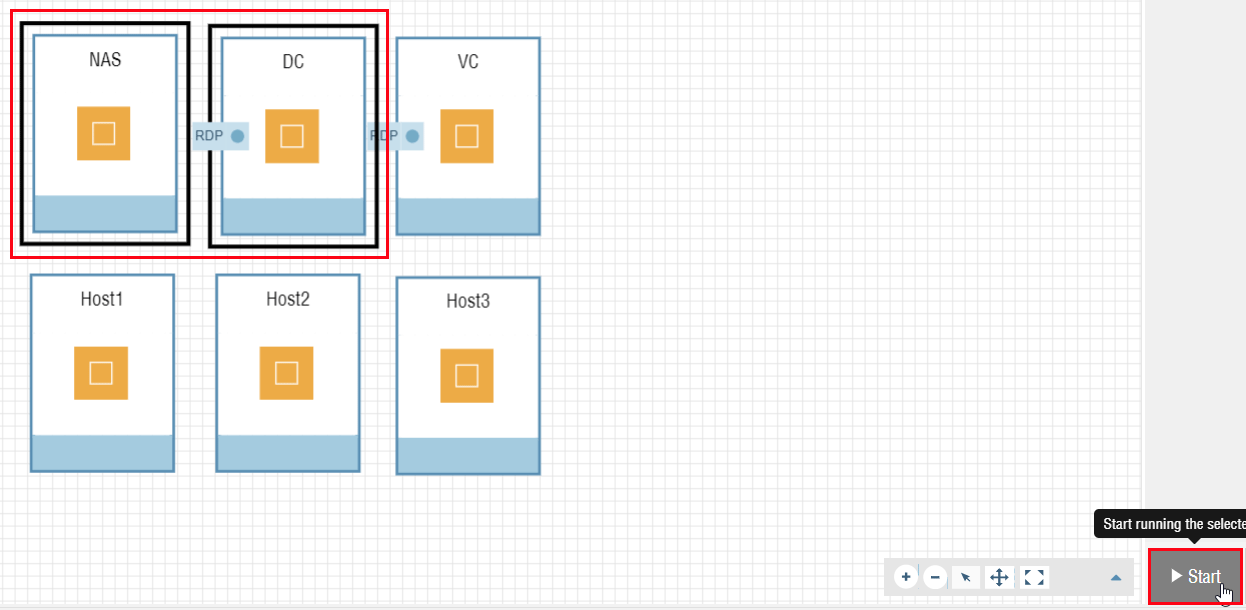
Next, we will power on the NAS and DC VMs. Select both VMs and click Start.
Click Start to verify power on.
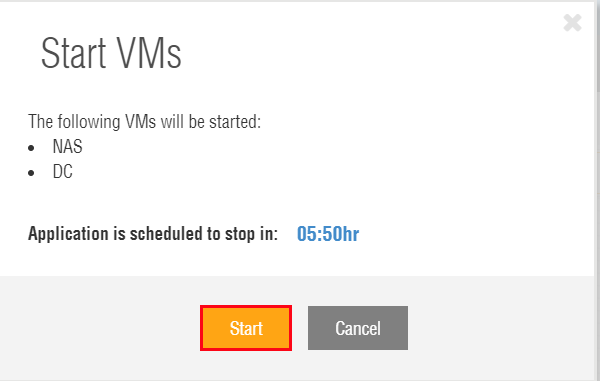
The VMs will begin to power on and build. This process takes around an hour; however, after 20 minutes log on to the DC VM to provide a prompt response for PowerCLI.
To log onto the VMs, I prefer RDP as opposed to console. To RDP, copy the IP or DNS from the VM Summary. Also, take note of the RDP port as we will need that to connect.
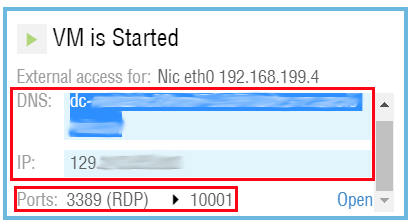
Paste the DNS name or IP along with the port number into the RDP application. Click Connect.
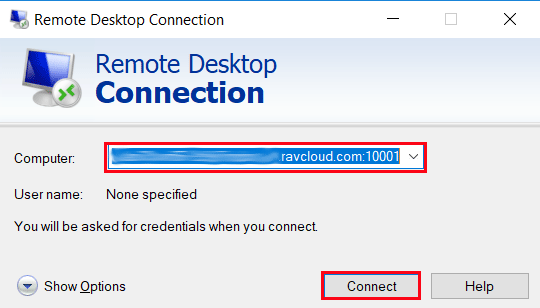
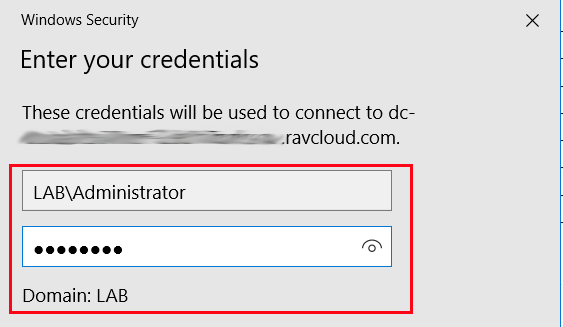
For credentials, use LAB\Administrator and a password of VMware1! (we will change this soon).
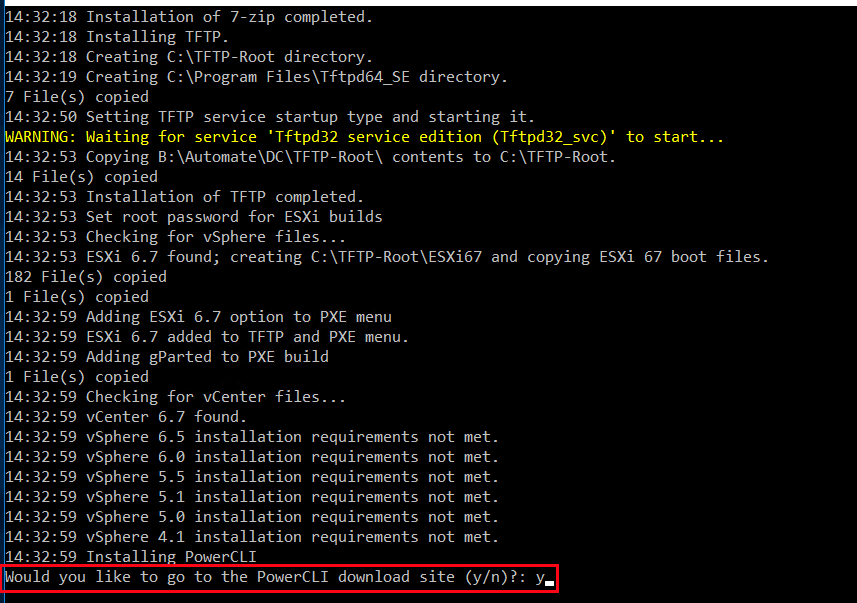
Once we log in, we can see that PowerCLI needs to be downloaded. Type Y and press Enter.
This will launch an IE session where you need to log into your my.vmware account. Locate the PowerCLI Installer and click Download Now. As PowerCLI versions changed with 6.7, we are going to download the 6.5 installer. This can be found here.
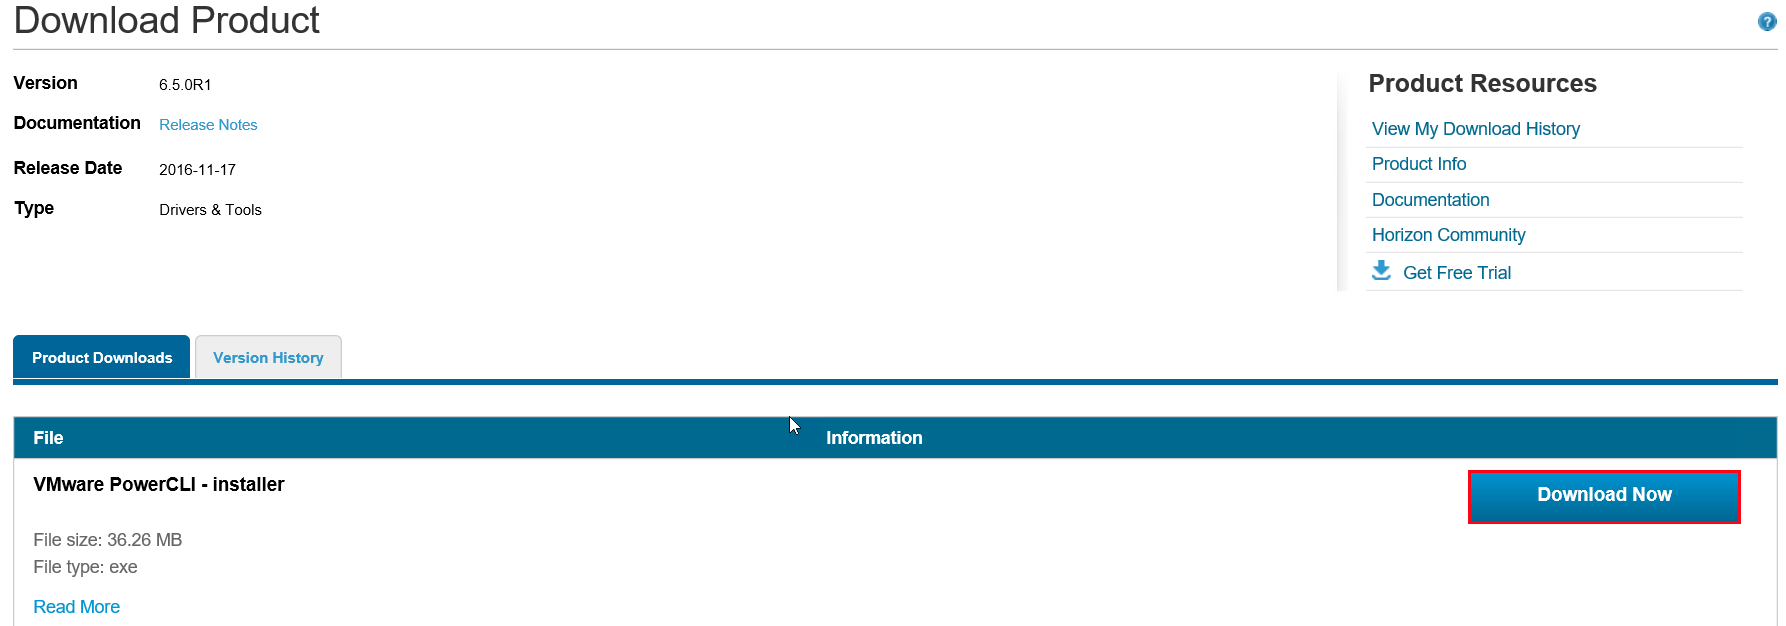
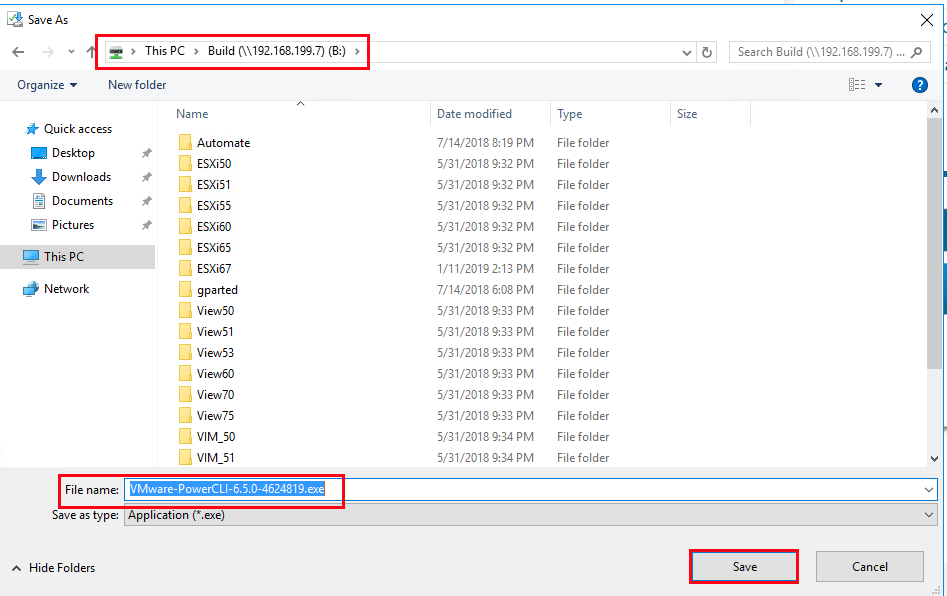
Save the installer to the root of the Build share. Keep the name in the VMware-PowerCLIxxxx.exe format and click Save.
After saving, various items will continue to install through the script. Again, you can let it run through the paces. Once the auto install has completed, the VM will reboot a final time. To verify the build is complete, check for a Validate Powershell shortcut on the desktop. If this is there, the DC build has completed. If you do not see the shortcut, check the C:\buildlog.txt for issues.
Double-click the Validate Powershell shortcut.

Note – If you get an error stating the term Get-PowerCLIVersion is not recognized, Powershell may not have been installed. If this is the case, manually run the installer from the build share.

The Validate script will be prompt you to enter a new admin password. You will also be asked if you want to add hosts to vCenter when it builds.

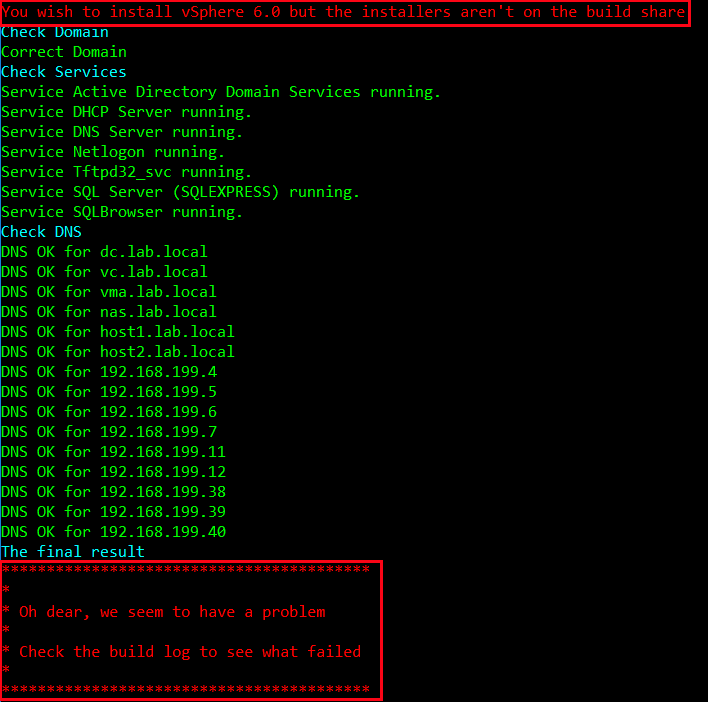
Note – If you get a build error stating you wish to install vSphere 6.0 but the installers aren’t on the build share, check the automate.ini. This is located in the Automate folder on the build share.
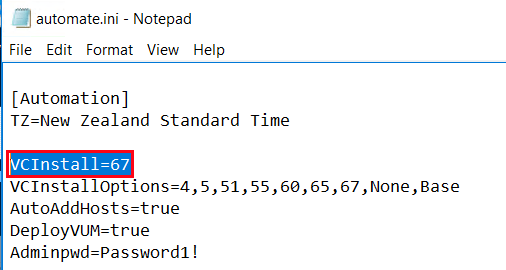
In a few instances, I have seen the VCInstall switch set to 60. If this is the case, change the VCInstall = 67.
Once the Validate script indicates the build was a success, the ESXi hosts can be built.
Build ESXi Hosts
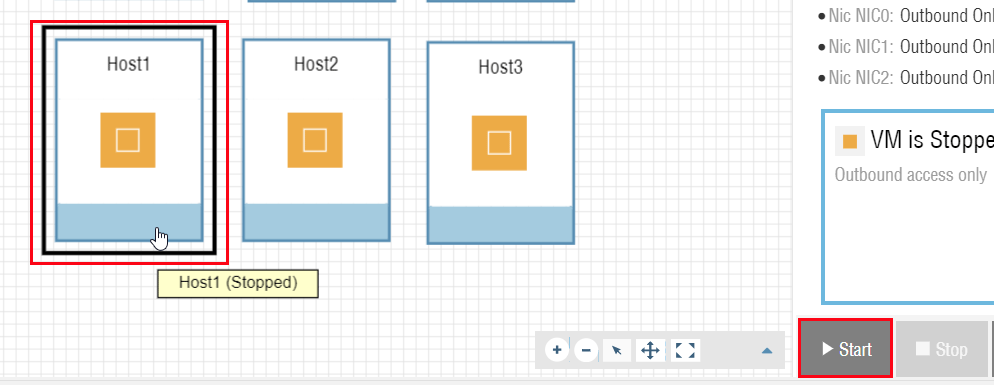
Next, we will start the ESXi build process. Build one ESXi host at a time. To begin, select your first host and click Start. Once the VM has started, click the Console button.
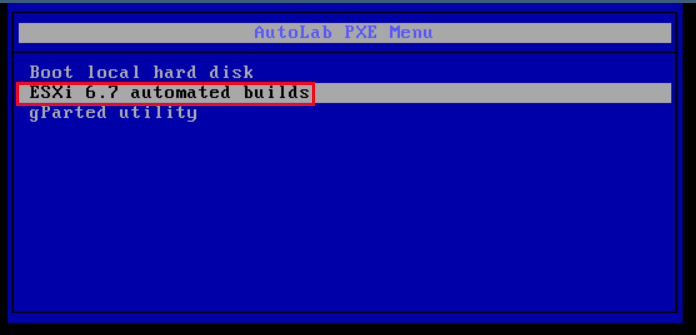
From the PXE Menu, select ESXi 6.7 automate builds.
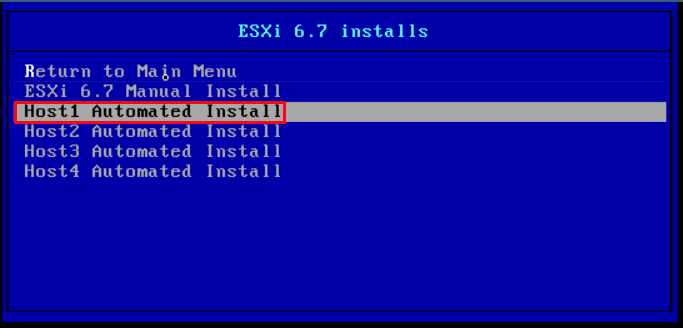
Select Host Automated Install for the pertinent host.
Note – If you receive an error stating VMB:533 Unsupported CPU during the installation, verify the cpu-model and preferPhysicalHost parameters set earlier are correct.

After selecting the install method, the host will be automatically built.
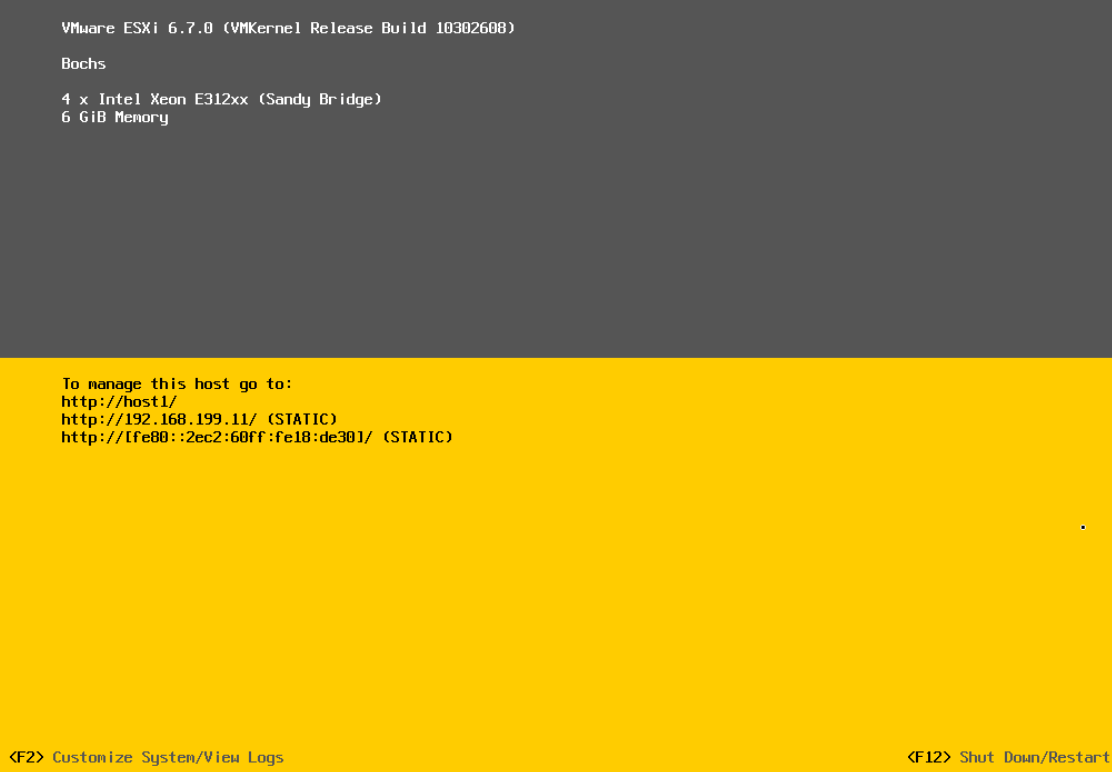
Perform the above process on the remaining hosts.
Build Windows vCenter
After all the hosts are built, start the VC VM.
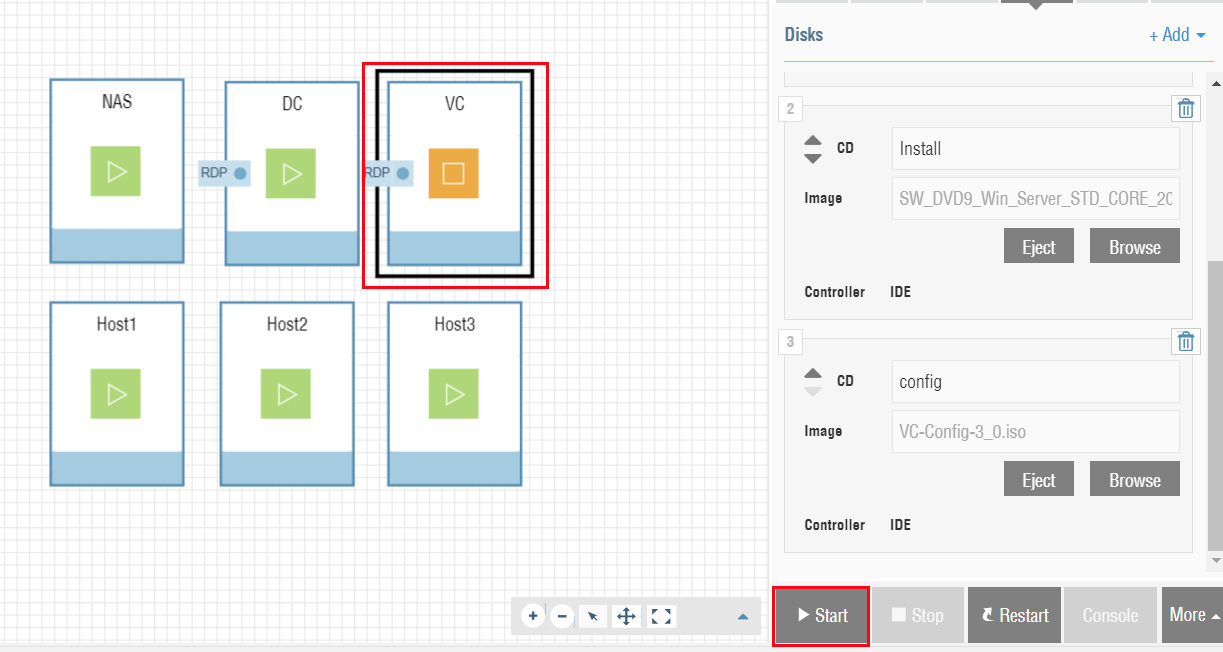
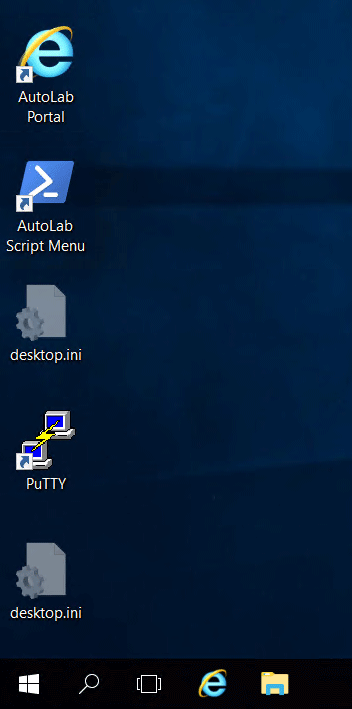
After powering on the VC VM, you can step away for about an hour as the server builds. Once the Windows and vCenter install has completed, the desktop will contain shortcuts for Putty, the AutoLab Script Menu, and the AutoLab Portal.
As with the DC VM, a validating script can be run to ensure the build was successful. Launch the AutoLab Script Menu.
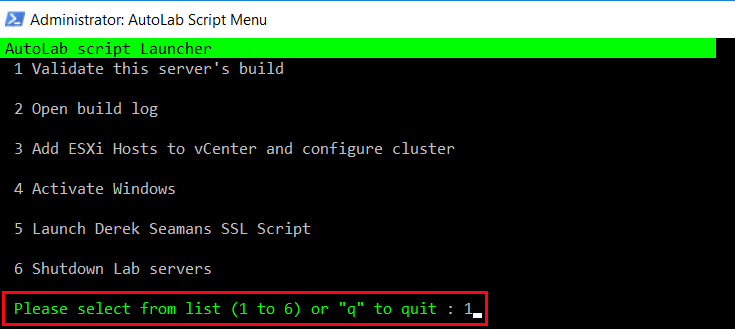
Enter 1 to begin the validation script.
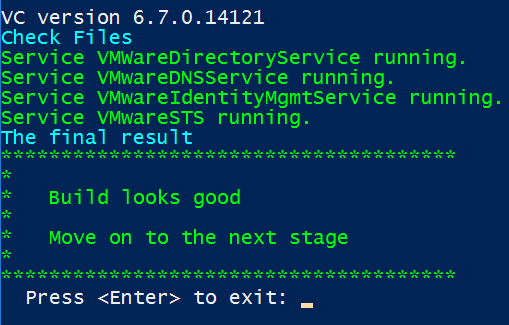
If successful, the script will indicate that the build looks good and you can move on to the next stage.
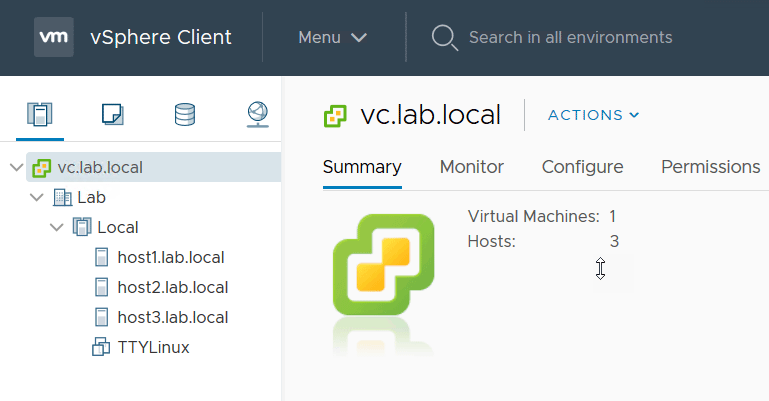
Lastly, we will launch vCenter to ensure everything looks good. Browse to https://vc.lab.local/ui for the HTML5 interface. Enter administrator@vsphere.local as the username and VMware1! as the password.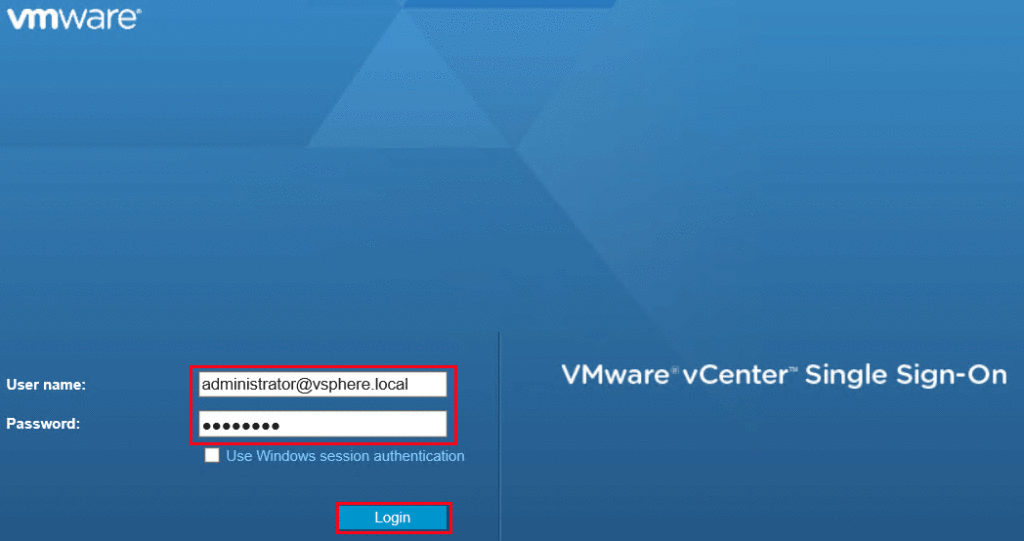
Everything appears to be in place. Lab away! This is a great tool for VMware testing or VCP/VCAP preparation.
Related Posts
One thought on “AutoLab vSphere 6.7 Deployment on Ravello”
Thanks for write up.
Do have free access to ravello cloud as part of vexpert 2019 program? if yes how did you apply for it.
Comments are closed.